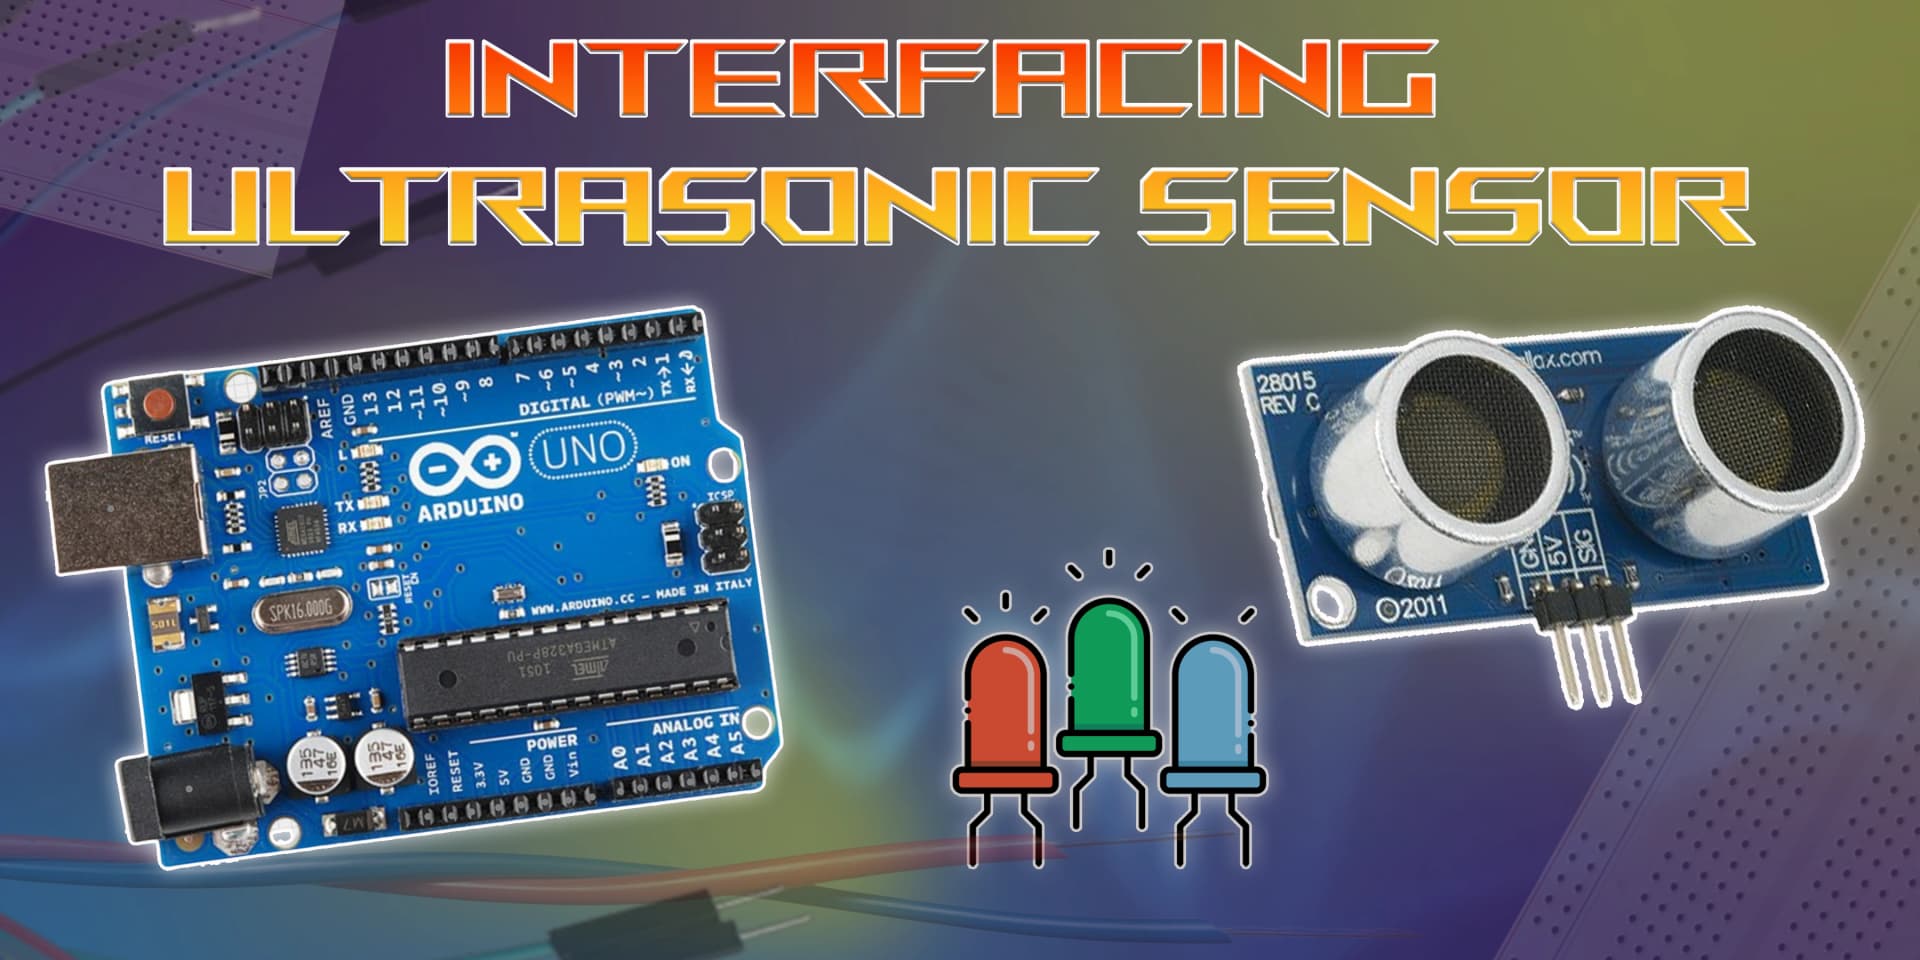
Ultrasonic Sensor & LED: Smart Distance Alerts

Written By – Anjali Kumari
Have you ever wondered how your Arduino, like a tiny robot with superpowers, can "sense" things around it? Let's connect an ultrasonic sensor, then! To measure distance, it will emit waves, and guess what? Depending on how close or far anything is, your LED will light up! Are you prepared to look at your Arduino now?
Imagine this: The Arduino is the action hero, and you are the mastermind! It will be able to "see" the world ahead thanks to the ultrasonic sensor, and the LED will function as a signal, flickering or lighting up in response to what it detects. Do you want to build an intelligent system that responds to its surroundings? Let's get started! Imagine this: The Arduino is the action hero, and you are the mastermind! It will be able to "see" the world ahead thanks to the ultrasonic sensor, and the LED will function as a signal, flickering or lighting up in response to what it detects. Do you want to build an intelligent system that responds to its surroundings? Let's get started!
An overview of Ultrasonic Sensor and LED
Sound waves are emitted, and the time it takes for them to return after striking an item is measured by an ultrasonic sensor. This makes it ideal for applications like obstacle detection or distance measurement since it aids in determining the distance between the sensor and the item. It's similar to using sound to give your Arduino vision! Sound waves are emitted, and the time it takes for them to return after striking an item is measured by an ultrasonic sensor. This makes it ideal for applications like obstacle detection or distance measurement since it aids in determining the distance between the sensor and the item. It's similar to using sound to give your Arduino vision!By including an LED, you may use the sensor's readings to generate visual feedback. For example, when the sensor detects something close by, the LED may blink or light up. Simple distance indications to more intricate automation systems are just a few of the interactive and intelligent projects made possible by the combination of an ultrasonic sensor and an LED. By including an LED, you may use the sensor's readings to generate visual feedback. For example, when the sensor detects something close by, the LED may blink or light up. Simple distance indications to more intricate automation systems are just a few of the interactive and intelligent projects made possible by the combination of an ultrasonic sensor and an LED.

Pin Diagram

Circuit Diagram

Steps
1. Attach pins 9 and 10 for triggering and echoing, and connect VCC and GND to pins 5 and GND on the Arduino.
2. Use a 220-ohm resistor to connect the LED's anode to pin 13 and its cathode to GND.
3. When an object is detected, program the Arduino to read the ultrasonic sensor and switch on the LED.
4. When an object is within range, the LED should illuminate after uploading the code and testing. When an object is within range, the LED should illuminate after uploading the code and testing.
Code
1
2// Define pin connections
3const int trigPin = 9;
4const int echoPin = 10;
5// Define variables long duration; int distance;
6void setup()
7{
8         // Initialize serial communication Serial.begin(9600);
9        // Define pin modes
10        pinMode(trigPin, OUTPUT);
11        pinMode(echoPin, INPUT);
12}
13void loop()
14{
15         digitalWrite(trigPin, LOW); delayMicroseconds(2);
16
17         digitalWrite(trigPin, HIGH);
18         delayMicroseconds(10);
19         digitalWrite(trigPin, LOW);
20          // Measure the duration of the echo pulse
21         duration = pulse In(echo Pin, HIGH);
22
23          // Calculate distance in cm (speed of sound is 343 m/s)
24        distance = duration * 0.034 / 2;
25       // Print distance to the serial monitor Serial.print("Distance: ");
26        Serial.print(distance); Serial.println(" cm");
27       // Delay before next reading delay(1000);
28}
29
30
31
32