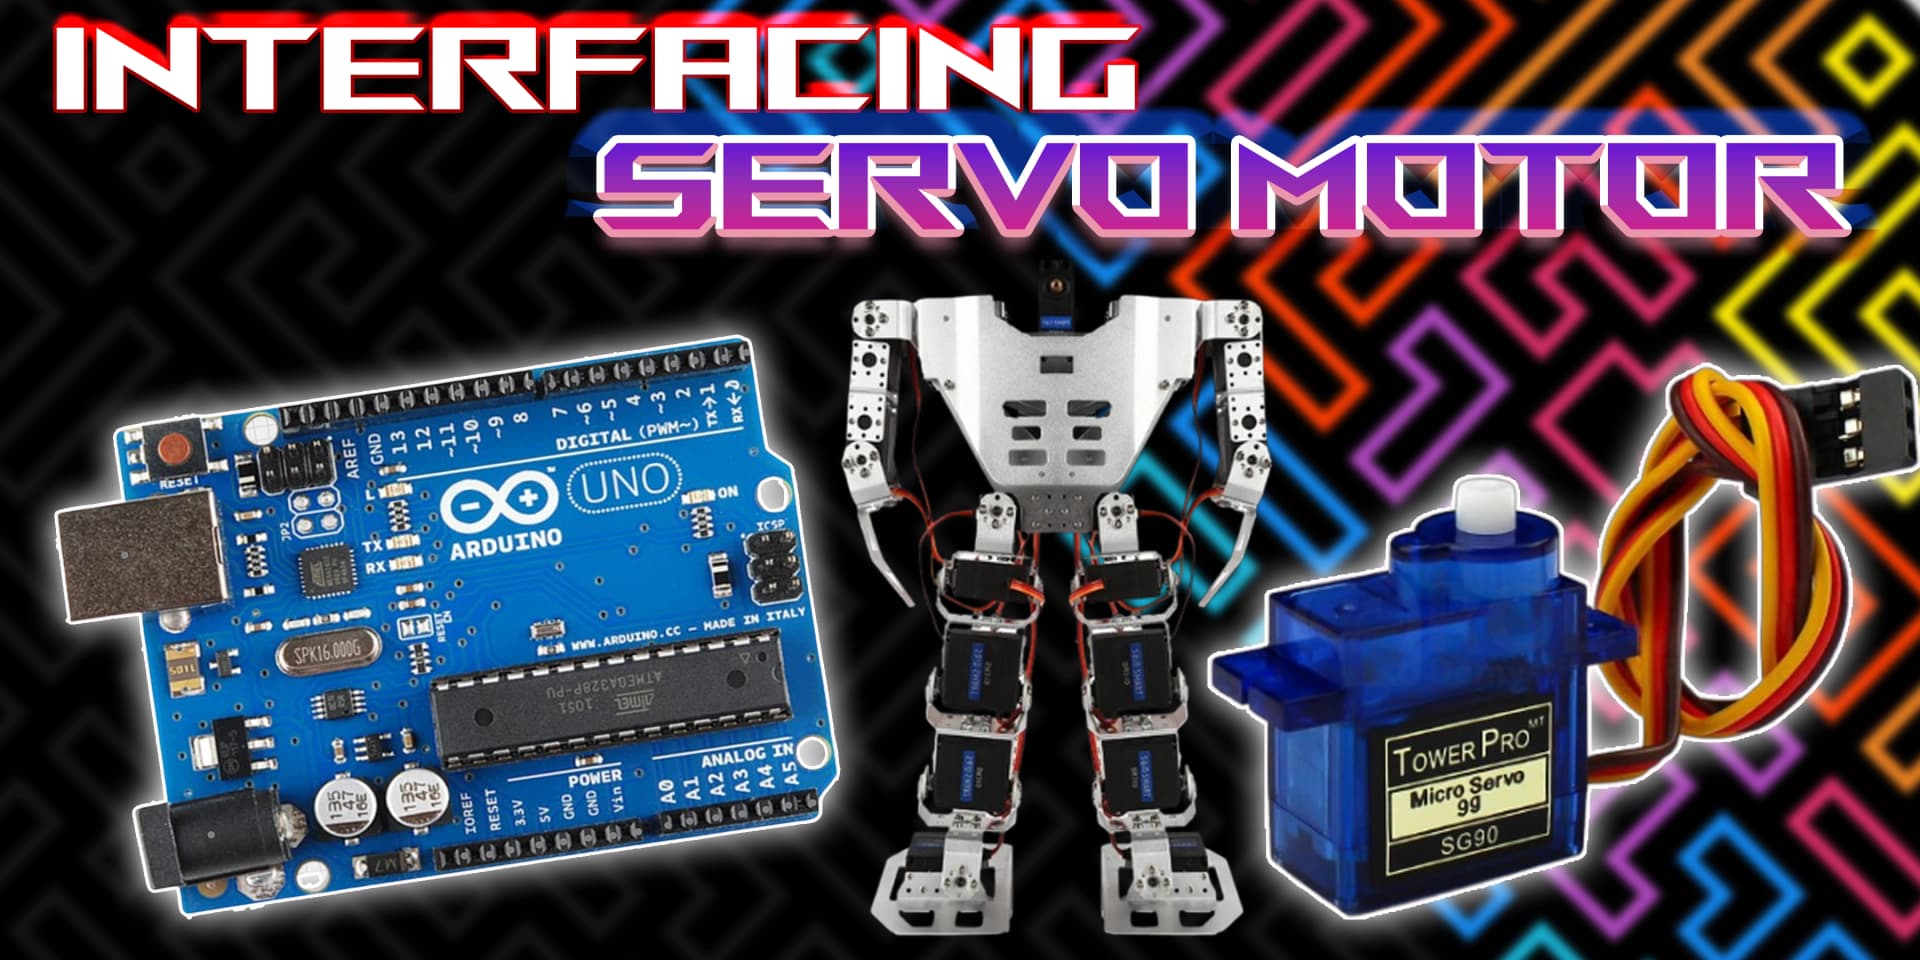
Interfacing Servo Motor with Arduino

Servo Motor
A Servo Motor is a rotary actuator used for precise control of angular position, velocity, and acceleration. It’s widely used in robotics, automation, RC vehicles, and mechanical systems where controlled movement is required.
Working Principle of Servo Motor
A Servo Motor operates by receiving a PWM (Pulse Width Modulated) signal from the Arduino. The duration of the pulse determines the angle of rotation, allowing for accurate positioning within a range (typically 0° to 180°).
Experiment of Code
A Servo Motor works by receiving PWM signals from the Arduino, where each pulse corresponds to a specific angle. The motor uses an internal feedback system to adjust and maintain the desired position accurately.
Wiring the Servo Motor to Arduino
To connect a Servo Motor to Arduino, attach the VCC to 5V, GND to GND, and the Signal wire to a digital PWM pin like D9. Ensure a stable power supply to prevent jitter or unexpected movements.
Types of Servo Motors
Standard Servo Motor
- Receives PWM signals from a microcontroller.
- Uses an internal circuit to control angle based on pulse duration.
- Provides stable torque and speed for precise positioning.
Continuous Rotation Servo
- Receives PWM input similar to standard servos.
- Interprets pulse width as speed and direction instead of angle.
- Commonly used in mobile robots and automated systems.
Pin Configuration of Servo Motor
Servo Motor
- VCC: Connect to +5V on Arduino.
- GND: Connect to GND on Arduino.
- Signal: Connect to a PWM-capable digital pin on Arduino (e.g., D9).
Algorithm
Initialize Components
- Connect the VCC and GND pins of the Servo Motor to +5V and GND on the Arduino.
- Connect the Signal pin to a PWM-capable digital pin like D9.
Write the Code
- Include the Servo library in your Arduino sketch.
- Use the attach() method to link the Servo object to the chosen pin.
- Control the motor using write() to set specific angles.
Display Values or Control Devices
- Print angle values to the serial monitor for tracking.
- Trigger servo movements based on sensor inputs or conditions.
Test the Project
- Upload the code to the Arduino.
- Adjust angle values and observe the Servo Motor's movement.
Arduino Code
1#include <Servo.h>  // Include the Servo library
2
3Servo myServo;      // Create a servo object to control the motor
4
5void setup() {
6  myServo.attach(9);  // Connect the signal wire to digital pin 9
7}
8
9void loop() {
10  // Rotate servo from 0 to 180 degrees
11  for (int angle = 0; angle <= 180; angle++) {
12    myServo.write(angle);      // Set servo position
13    delay(15);                 // Wait for servo to reach the position
14  }
15
16  // Rotate servo back from 180 to 0 degrees
17  for (int angle = 180; angle >= 0; angle--) {
18    myServo.write(angle);
19    delay(15);
20  }
21}
22
Applications
- Robotic arms and joints
- Automated door systems
- Camera gimbals and stabilization
- RC cars, boats, and airplanes
- Industrial automation
- Prosthetics and assistive devices
Conclusion
Interfacing a Servo Motor with Arduino provides an easy and precise way to control mechanical movements. Whether you're building a robotic system or a home automation project, servo motors are a great fit for applications needing accurate rotation.