Interfacing Non-contact IR Temperature Sensor with Arduino
Non-contact IR Temperature Sensor
A non-contact IR temperature sensor is a device that measures temperature without physical contact. It detects infrared radiation emitted by objects and converts it into a temperature reading. These sensors are widely used in industrial, medical, and consumer applications for temperature monitoring.
IR Temperature Sensor Working Principle
The IR temperature sensor works by detecting infrared radiation emitted by an object. The sensor converts this radiation into an electrical signal, which is then processed to determine the temperature. These sensors are commonly used in environments where physical contact is not possible or ideal.
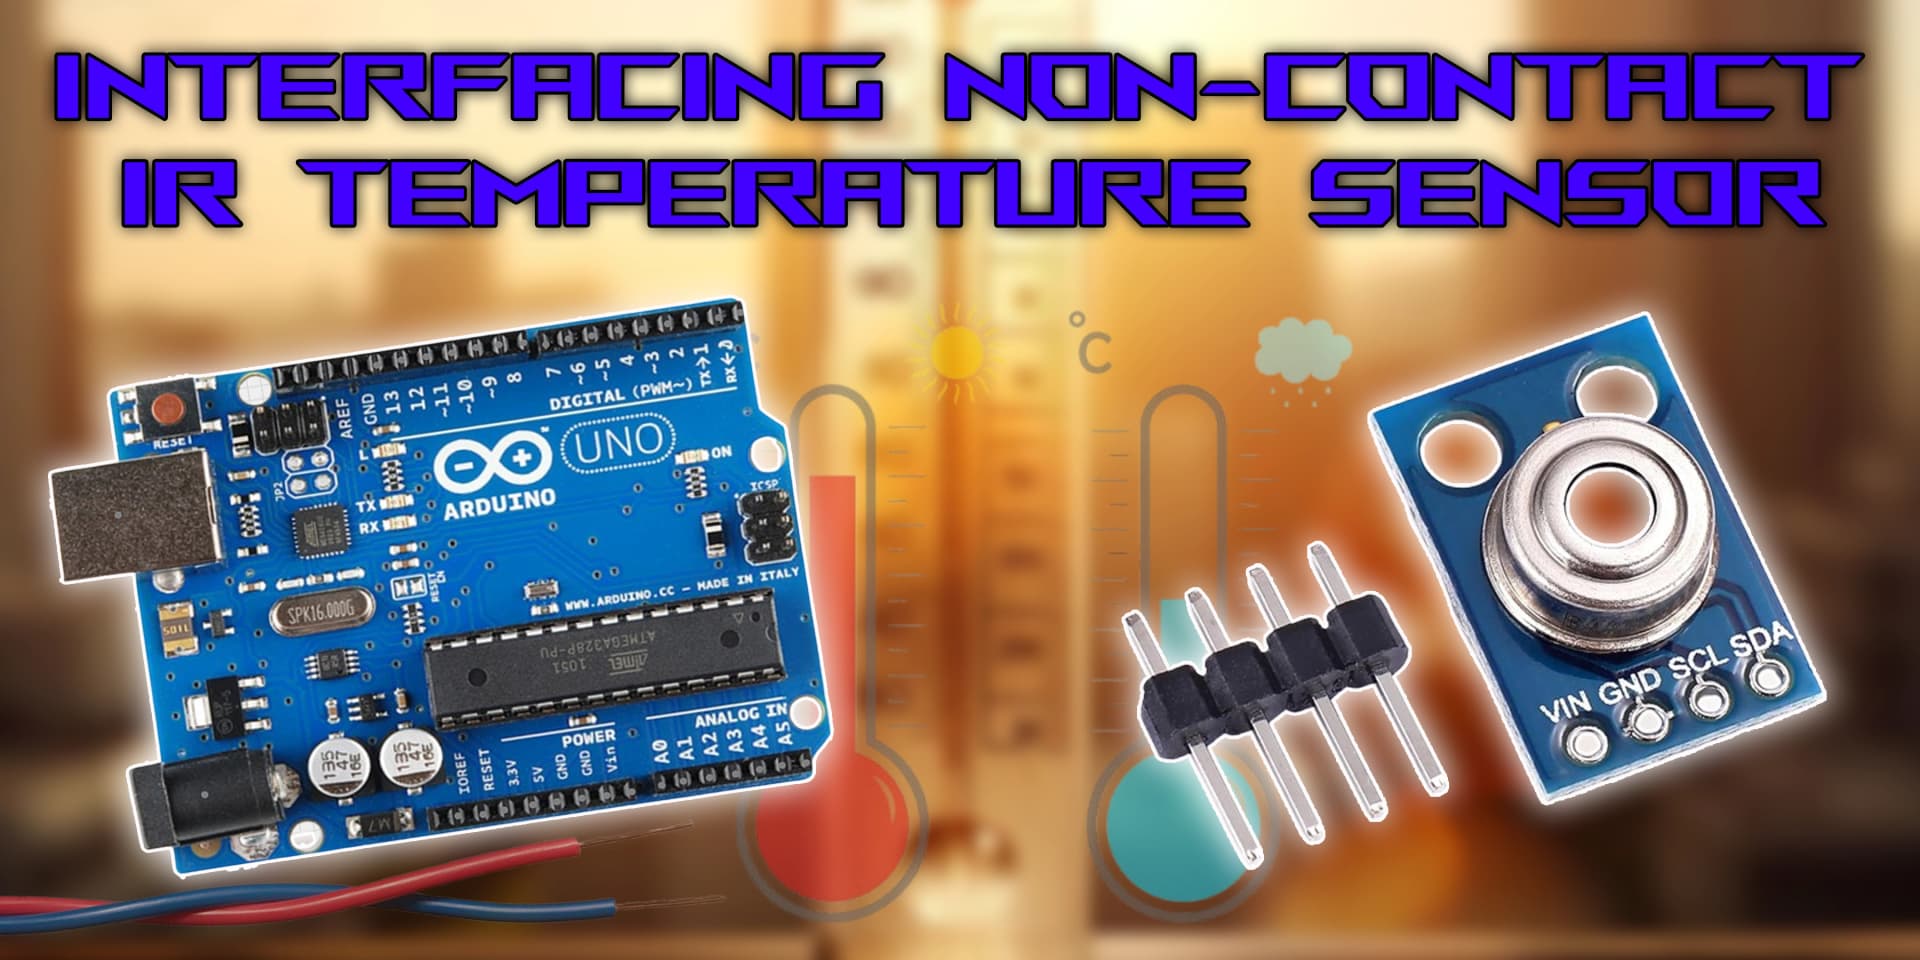
Wiring the IR Temperature Sensor to Arduino
To connect the IR temperature sensor to the Arduino, connect the VCC and GND pins to +5V and GND. Use the I2C interface (SDA and SCL) to communicate with the sensor. The readings can be processed and displayed using the Arduino's serial monitor or an LCD screen.
Types of IR Temperature Sensors
Thermopile IR Sensor
- Absorbs infrared radiation.
- Generates a voltage proportional to the detected heat.
- Processes the signal to calculate temperature.
Infrared Pyrometer
- Detects infrared radiation from hot surfaces.
- Calculates temperature based on radiation intensity.
- Displays temperature or transmits data to a controller.
Pin Configuration of IR Temperature Sensor
MLX90614 IR Temperature Sensor
- VCC: Connect to +3.3V or +5V on Arduino.
- GND: Connect to GND on Arduino.
- SCL: Connect to the SCL (A5) pin on Arduino.
- SDA: Connect to the SDA (A4) pin on Arduino.
Algorithm
Initialize Components
- Connect the VCC and GND pins of the IR temperature sensor to +5V and GND on the Arduino.
- Connect the SDA and SCL pins to the respective Arduino I2C pins (A4, A5).
Write the Code
- Set up the I2C communication in the setup() function.
- Read temperature values in the loop() function.
- Display temperature readings on the serial monitor or LCD screen.
Display Values or Control Devices
- Print the temperature readings to the serial monitor.
- Use the readings to trigger cooling or heating devices based on temperature thresholds.
Test the Project
- Upload the code to the Arduino.
- Test the sensor by measuring the temperature of various objects and surfaces.
Arduino Code
1#include <Wire.h>
2#include <Adafruit_MLX90614.h>
3
4// Create MLX90614 object
5Adafruit_MLX90614 mlx = Adafruit_MLX90614();
6
7void setup() {
8  Serial.begin(9600);
9  Serial.println("IR Temperature Sensor (MLX90614) Initialized");
10
11  // Start sensor
12  if (!mlx.begin()) {
13    Serial.println("Error: Sensor not found. Check wiring!");
14    while (1);
15  }
16}
17
18void loop() {
19  Serial.print("Ambient Temp = ");
20  Serial.print(mlx.readAmbientTempC());
21  Serial.print(" °C\tObject Temp = ");
22  Serial.print(mlx.readObjectTempC());
23  Serial.println(" °C");
24
25  delay(1000);  // Read every second
26}
27
Applications
- Industrial temperature monitoring
- Medical applications such as fever detection
- Food safety and quality control
- Automotive engine diagnostics
- HVAC system monitoring
- Smart home automation
Conclusion
Interfacing a non-contact IR temperature sensor with Arduino allows you to measure temperature remotely and accurately. These sensors are widely used in industrial automation, medical diagnostics, and smart home applications. With a simple wiring setup and a few lines of code, you can integrate IR temperature sensing into your projects effortlessly.