How to Interface Push Button with 0.96-Inch OLED SSD1306 Display using Arduino
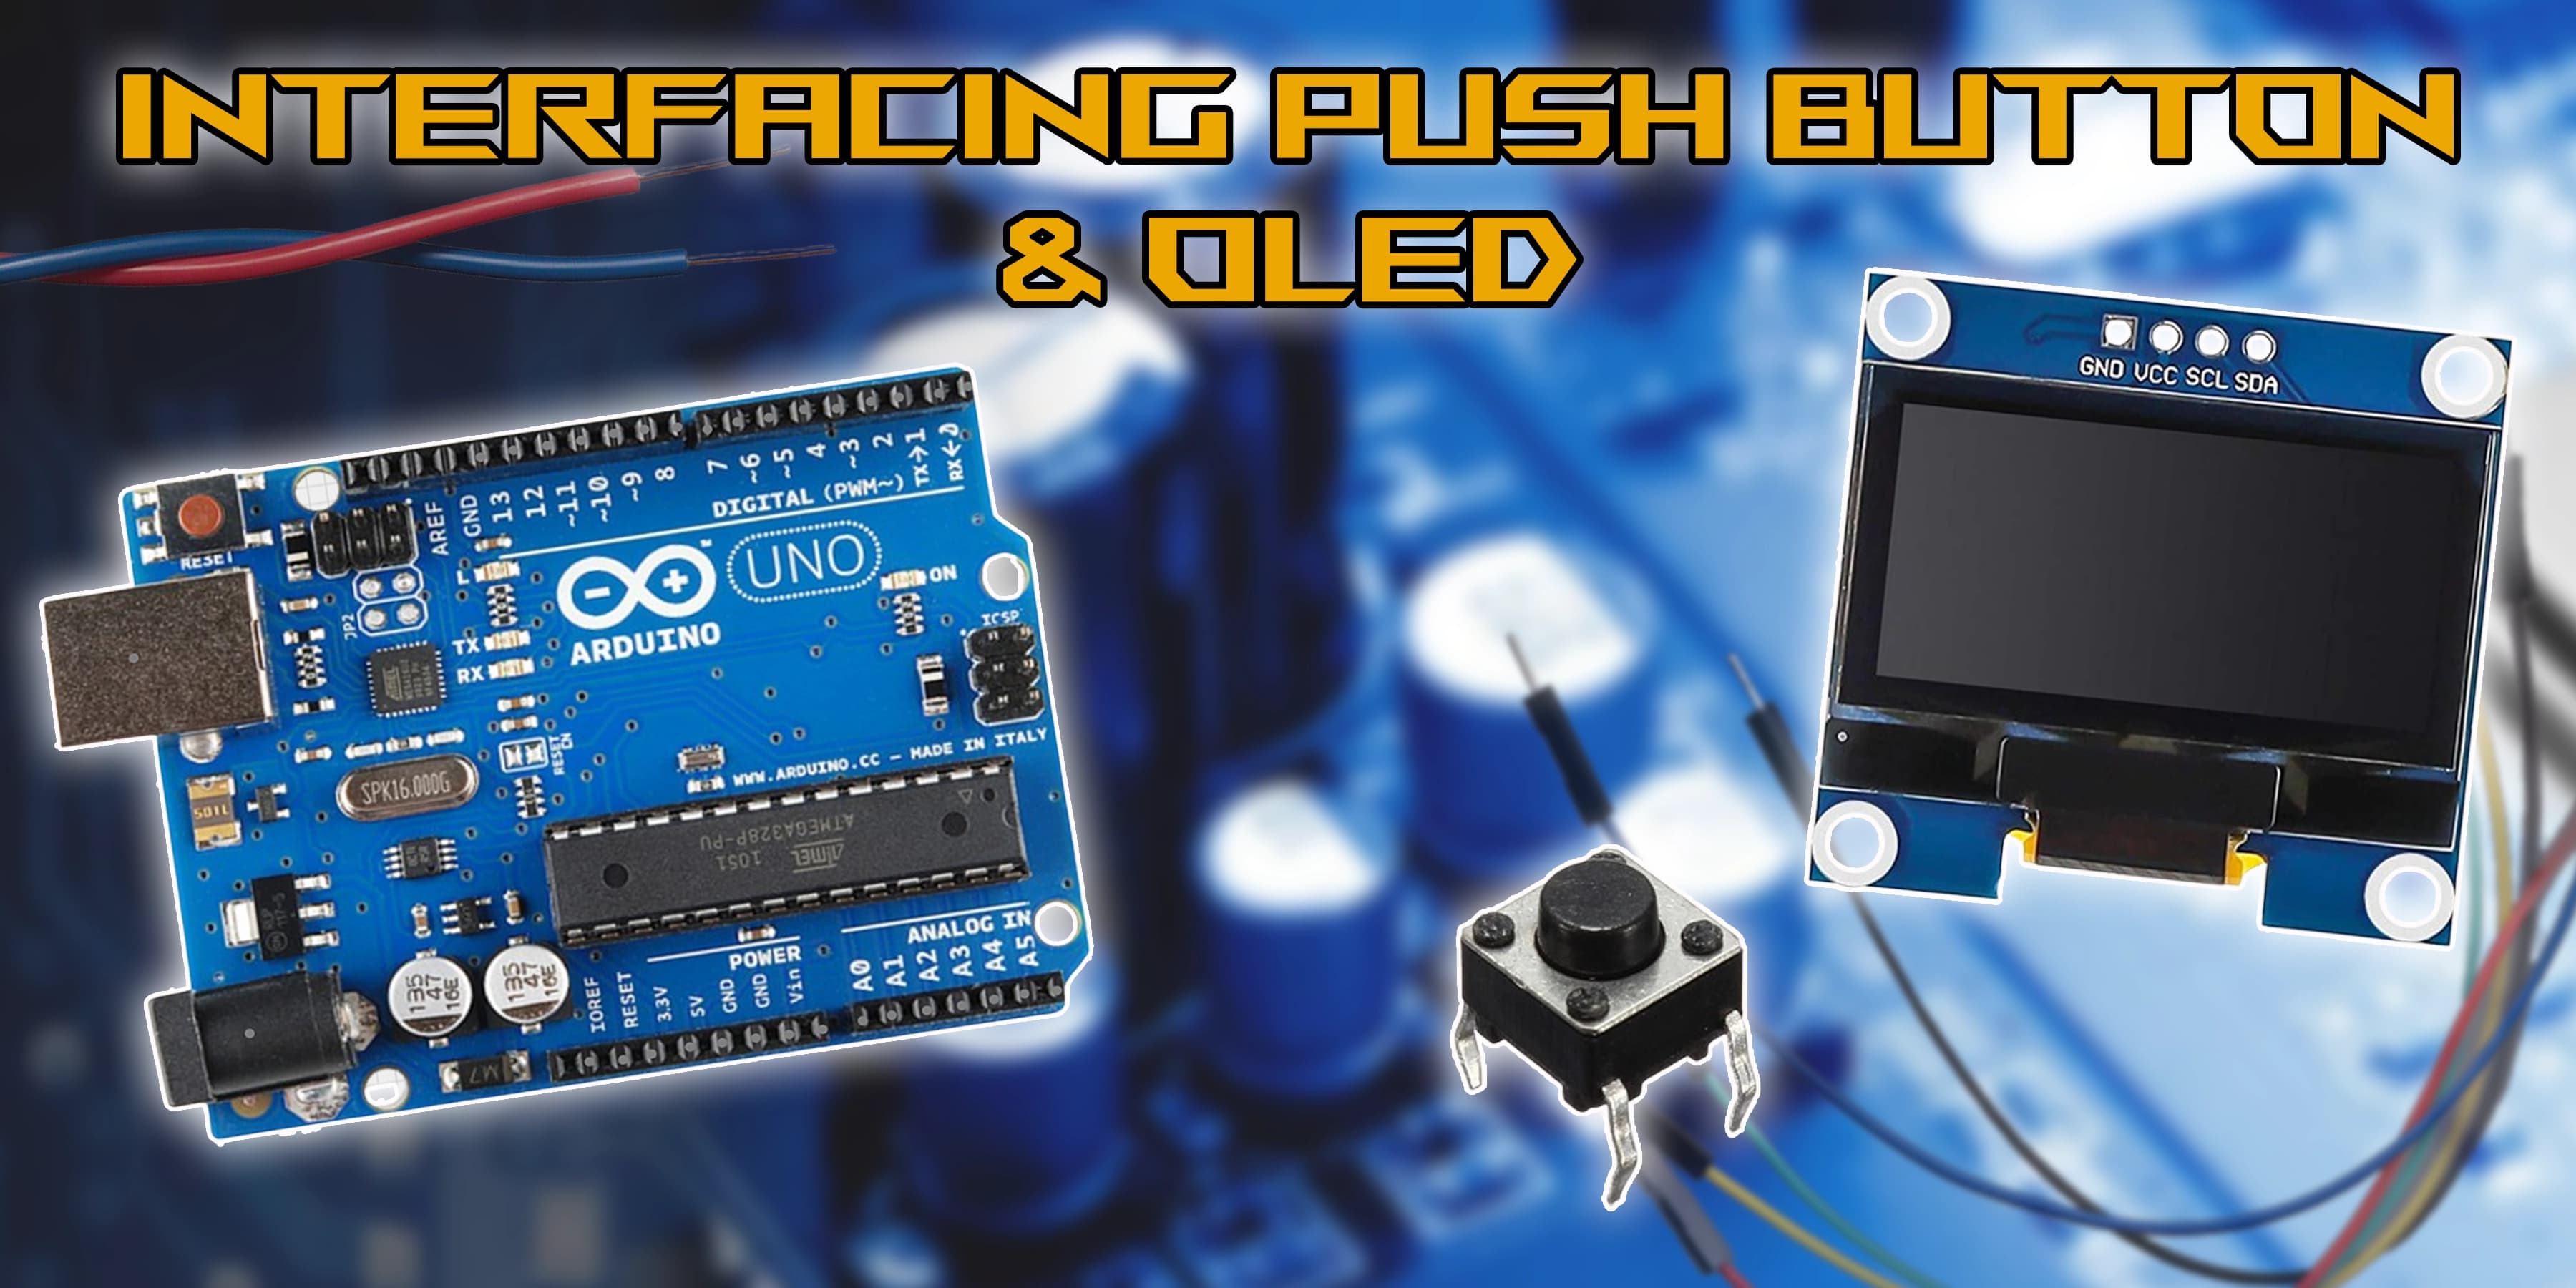
Creating interactive projects is made possible by connecting an Arduino Uno and an OLED (Organic Light Emitting Diode) 0.96-inch 128x64 display with a push button. You may develop games that are interactive, data loggers, user interfaces, and much more by integrating the physical input of the push button with the appearance of the OLED panel. In this project, we will investigate how to connect a push button and an OLED display to an Arduino Uno and create code to operate them.
The push button will function as an input, enabling user interaction with the system, while the OLED display will function as the output device, giving the user visible response. The theory underlying connecting these components, the necessary hardware connections, and the programming ideas needed to operate them will all be covered throughout this project. You'll have a solid foundation of how to include push buttons and OLED displays into your Arduino projects by the end, which will open up a world of creative possibilities.
Overview of this Experiment
When interfacing an OLED 0.96-inch 128x64 display with a push button and an Arduino Uno, you'll primarily be working with the Arduino programming language, which is a variant of C/C++. Here's an overview of the process. Arduino IDE (Integrated Development Environment) provides a simplified interface for writing, compiling, and uploading code to Arduino boards. Arduino code is written in a subset of C/C++, making it accessible to beginners while retaining the flexibility and power of the language.In this project, we'll explore how to wire an OLED display and a push button to an Arduino Uno and write code to control them. The OLED display will serve as the output device, providing visual feedback to the user, while the push button will act as an input, allowing the user to interact with the system. Overall, Arduino programming language, based on C/C++, is used to interface an OLED display with a push button and an Arduino Uno, allowing you to create interactive projects with ease.

OLED Display
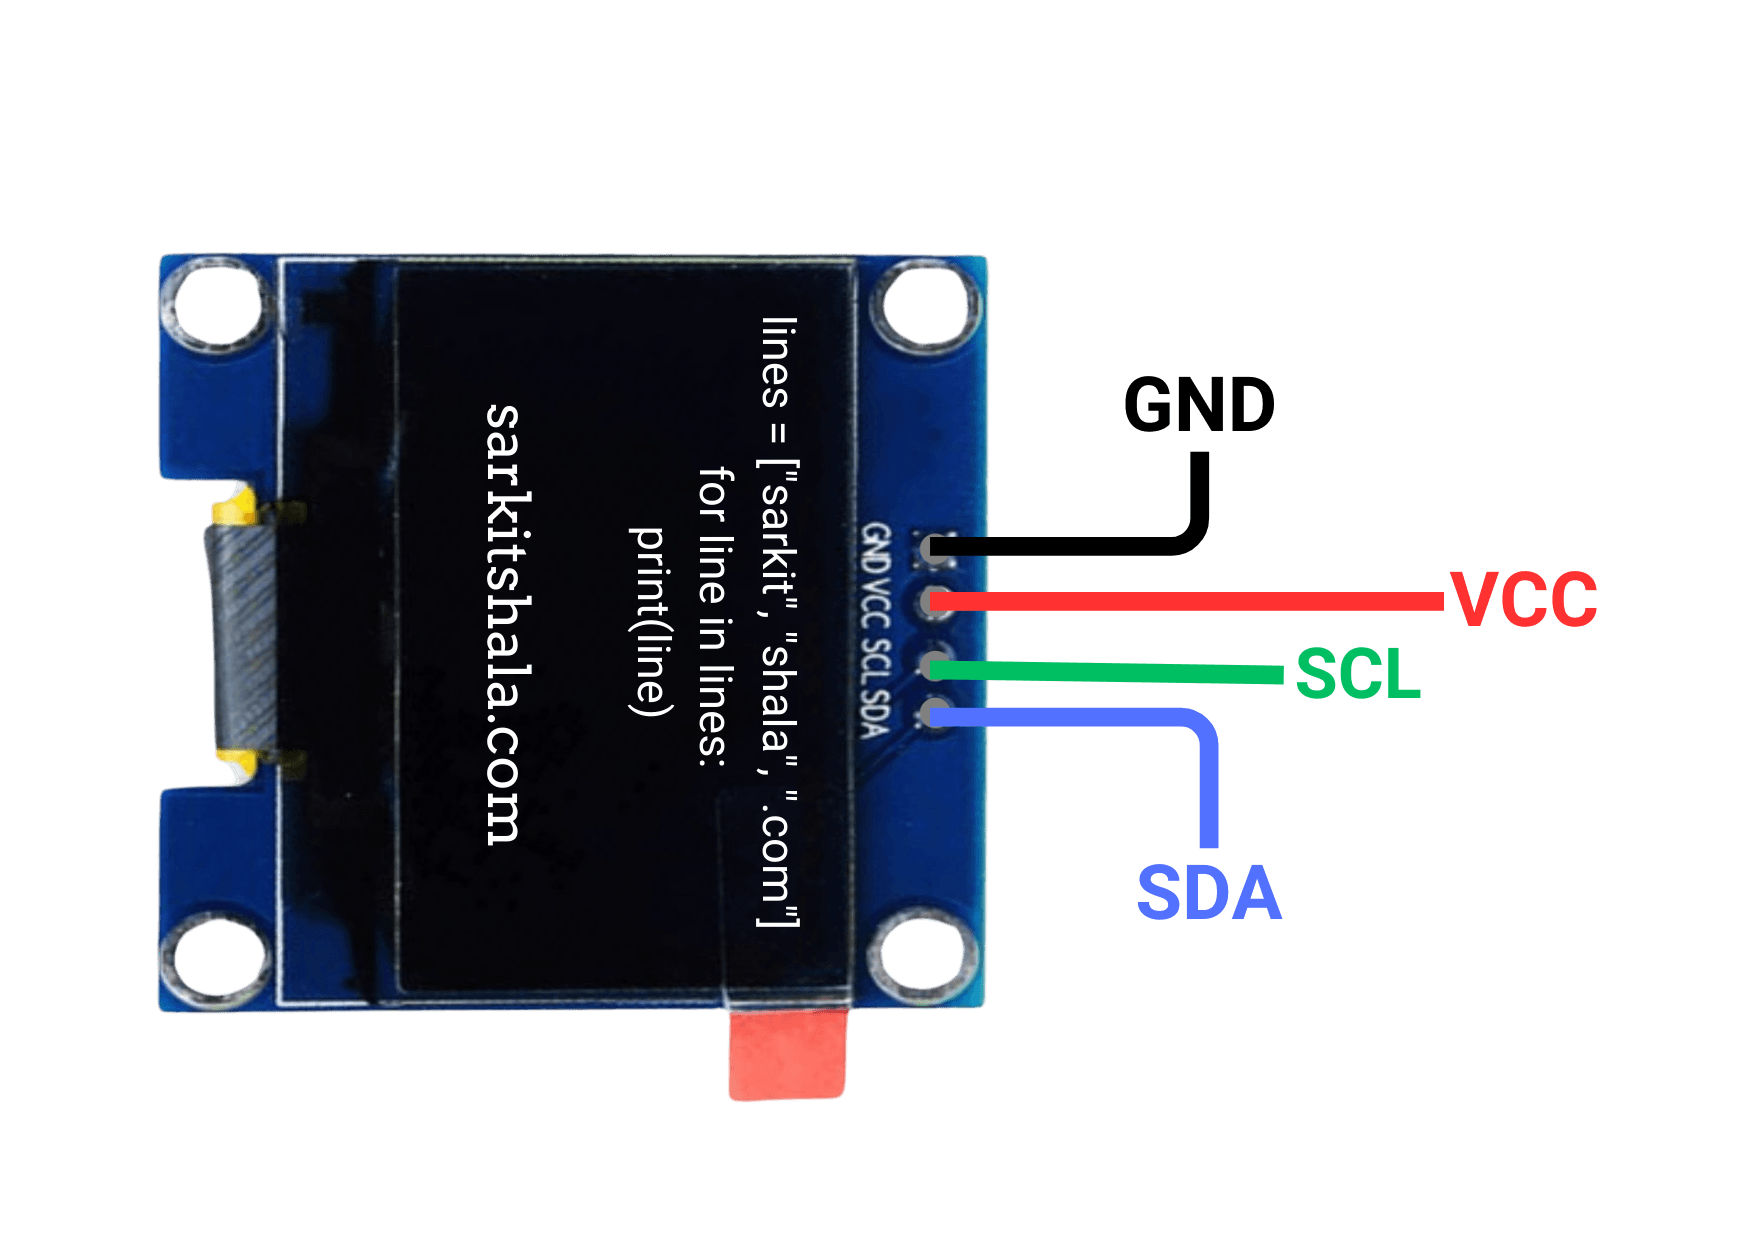
Circuit Diagram
Steps
Code
1
2#include <Wire.h>
3#include <Adafruit_GFX.h>
4#include <Adafruit_SSD1306.h>
5
6#define BUTTON_PIN 2  // Push button pin
7#define SCREEN_WIDTH 128
8#define SCREEN_HEIGHT 64
9#define OLED_RESET -1
10
11Adafruit_SSD1306 display(SCREEN_WIDTH, SCREEN_HEIGHT, &Wire, OLED_RESET);
12
13void setup() {
14  // Initialize the button pin
15  pinMode(BUTTON_PIN, INPUT_PULLUP);  // Using internal pull-up resistor
16
17  // Initialize the OLED display
18  if (!display.begin(SSD1306_I2C_ADDRESS, OLED_RESET)) {
19    Serial.println(F("SSD1306 allocation failed"));
20    for (;;);
21  }
22
23  display.display();  // Initialize the display
24  delay(2000);        // Pause for 2 seconds
25}
26
27void loop() {
28  int buttonState = digitalRead(BUTTON_PIN);  // Read button state
29
30  // Clear the display before updating
31  display.clearDisplay();
32
33  if (buttonState == LOW) {
34    // Button pressed
35    display.setTextSize(2);
36    display.setTextColor(SSD1306_WHITE);
37    display.setCursor(10, 30);
38    display.print("Button Pressed");
39  } else {
40    // Button not pressed
41    display.setTextSize(1);
42    display.setTextColor(SSD1306_WHITE);
43    display.setCursor(10, 30);
44    display.print("Press the Button");
45  }
46
47  display.display();  // Update the OLED display
48  delay(100);         // Short delay to debounce the button
49}
50
51