Interfacing Digital Microcomputer Thermostat Switch with Arduino
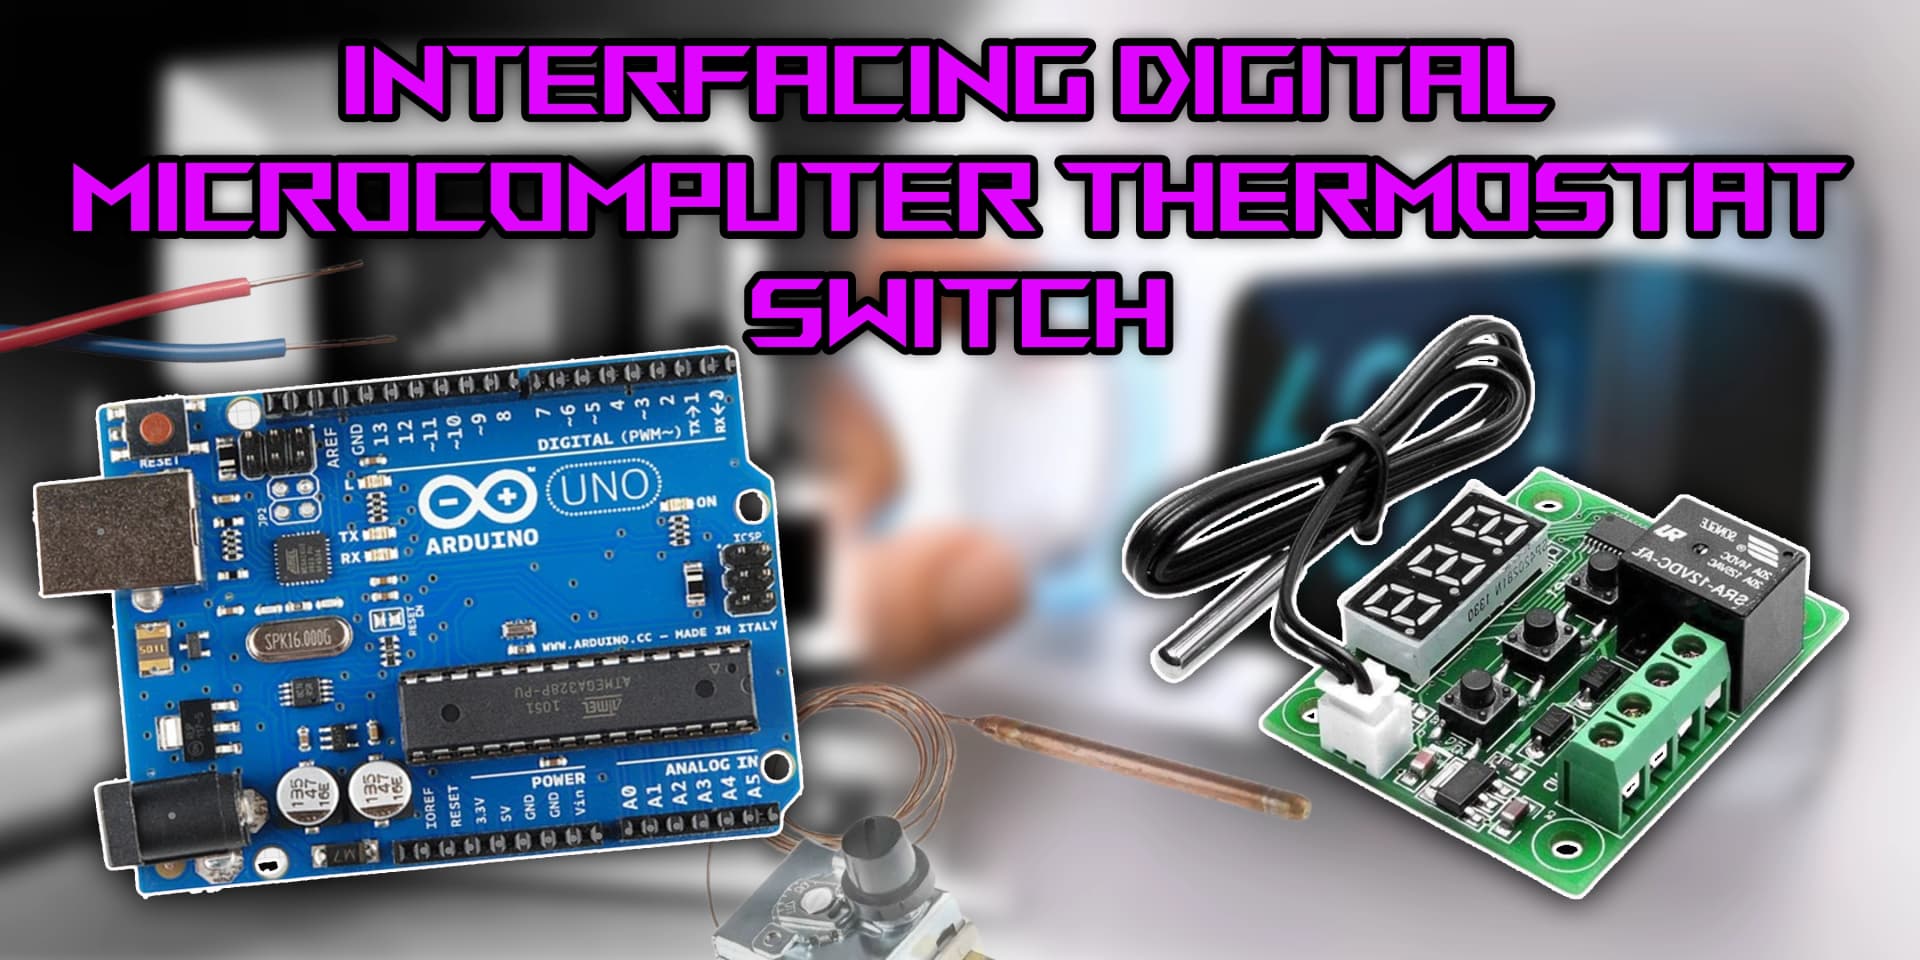
Digital Microcomputer Thermostat Switch
A digital microcomputer thermostat switch is a device used to control temperature by switching heating or cooling systems on and off. It operates by sensing temperature and activating a relay to maintain the desired range. These switches are widely used in HVAC systems, incubators, and other temperature-sensitive applications.
Working Principle of Digital Microcomputer Thermostat Switch
The thermostat switch works by continuously monitoring temperature through a built-in or external sensor. When the temperature crosses the preset threshold, it activates or deactivates the connected heating or cooling device via a relay. The control logic ensures accurate temperature regulation for optimal performance.
Wiring the Thermostat Switch to Arduino
To connect the thermostat switch to the Arduino, connect the VCC and GND pins to +5V and GND on the Arduino. The output pin (OUT) should be connected to a digital input pin to read the relay state, while the sensor pin (if available) should be connected to an analog or digital pin for temperature readings.
Types of Thermostat Switches
Programmable Thermostat Switch
- Measures ambient temperature.
- Compares it with the user-defined setpoint.
- Activates or deactivates the relay based on temperature conditions.
Non-Programmable Thermostat Switch
- Monitors the temperature in real time.
- Triggers heating or cooling devices when the temperature limit is exceeded.
Pin Configuration of Thermostat Switch
Relay Output Thermostat Switch
- VCC: Connect to +5V on Arduino.
- GND: Connect to GND on Arduino.
- OUT: Connect to a digital input pin on Arduino to monitor relay status.
Sensor-based Thermostat Switch
- VCC: Connect to +5V on Arduino.
- GND: Connect to GND on Arduino.
- DATA: Connect to an analog or digital input pin for temperature readings.
Algorithm
Initialize Components
- Connect the VCC and GND pins of the thermostat switch to +5V and GND on the Arduino.
- Connect the output or sensor pin to a digital or analog input pin on the Arduino.
Write the Code
- Set the thermostat switch pin as INPUT in the setup() function.
- Read the sensor or relay state in the loop() function.
- Use the readings to control connected devices based on temperature conditions.
Display Values or Control Devices
- Print temperature readings or relay status to the serial monitor.
- Use the data to activate heaters, coolers, or other appliances accordingly.
Test the Project
- Upload the code to the Arduino.
- Test the thermostat switch by adjusting the temperature to trigger the relay.
Arduino Code
1// Interfacing Digital Thermostat Module (like W1209) with Arduino
2// This code reads temperature from the module and controls a fan/LED based on threshold
3
4const int relayPin = 7;     // Connect IN pin of W1209 to digital pin 7
5const int sensorPin = A0;   // Optional: If you use external analog temp sensor (like LM35)
6
7void setup() {
8  pinMode(relayPin, OUTPUT);  // Set pin for relay control
9  digitalWrite(relayPin, LOW);
10  Serial.begin(9600);
11  Serial.println(\"Thermostat Module Ready\");
12}
13
14void loop() {
15  // The W1209 handles temperature internally.
16  // Use Arduino only to activate devices when W1209 relay output triggers
17
18  int relayState = digitalRead(relayPin);  // Monitor if W1209 relay is ON/OFF
19
20  if (relayState == HIGH) {
21    Serial.println(\"Relay ON - Temperature crossed threshold\");
22    // You can add any additional logic here
23  } else {
24    Serial.println(\"Relay OFF - Temperature below threshold\");
25  }
26
27  delay(1000); // Wait 1 second
28}
Applications
- Temperature regulation in HVAC systems
- Incubator temperature control
- Refrigeration monitoring and automation
- Industrial heating and cooling systems
- Smart home climate management
- Greenhouse temperature control
Conclusion
Integrating a digital microcomputer thermostat switch with Arduino allows for precise temperature monitoring and control. These switches are crucial for automation in HVAC systems, greenhouses, and industrial settings. By following simple wiring and coding steps, you can easily implement temperature regulation in your projects.