Interfacing Light Intensity Sensor with Arduino
Light Intensity Sensor
A Light Intensity Sensor is used to measure the amount of ambient light in an environment. It converts light levels into an electrical signal, which can be processed by an Arduino to control devices or monitor lighting conditions.
Working Principle of Light Intensity Sensor
The Light Intensity Sensor works based on a photodiode or a Light Dependent Resistor (LDR). When exposed to light, the resistance of the LDR changes, generating a corresponding voltage signal. The Arduino reads this signal and determines the light intensity.
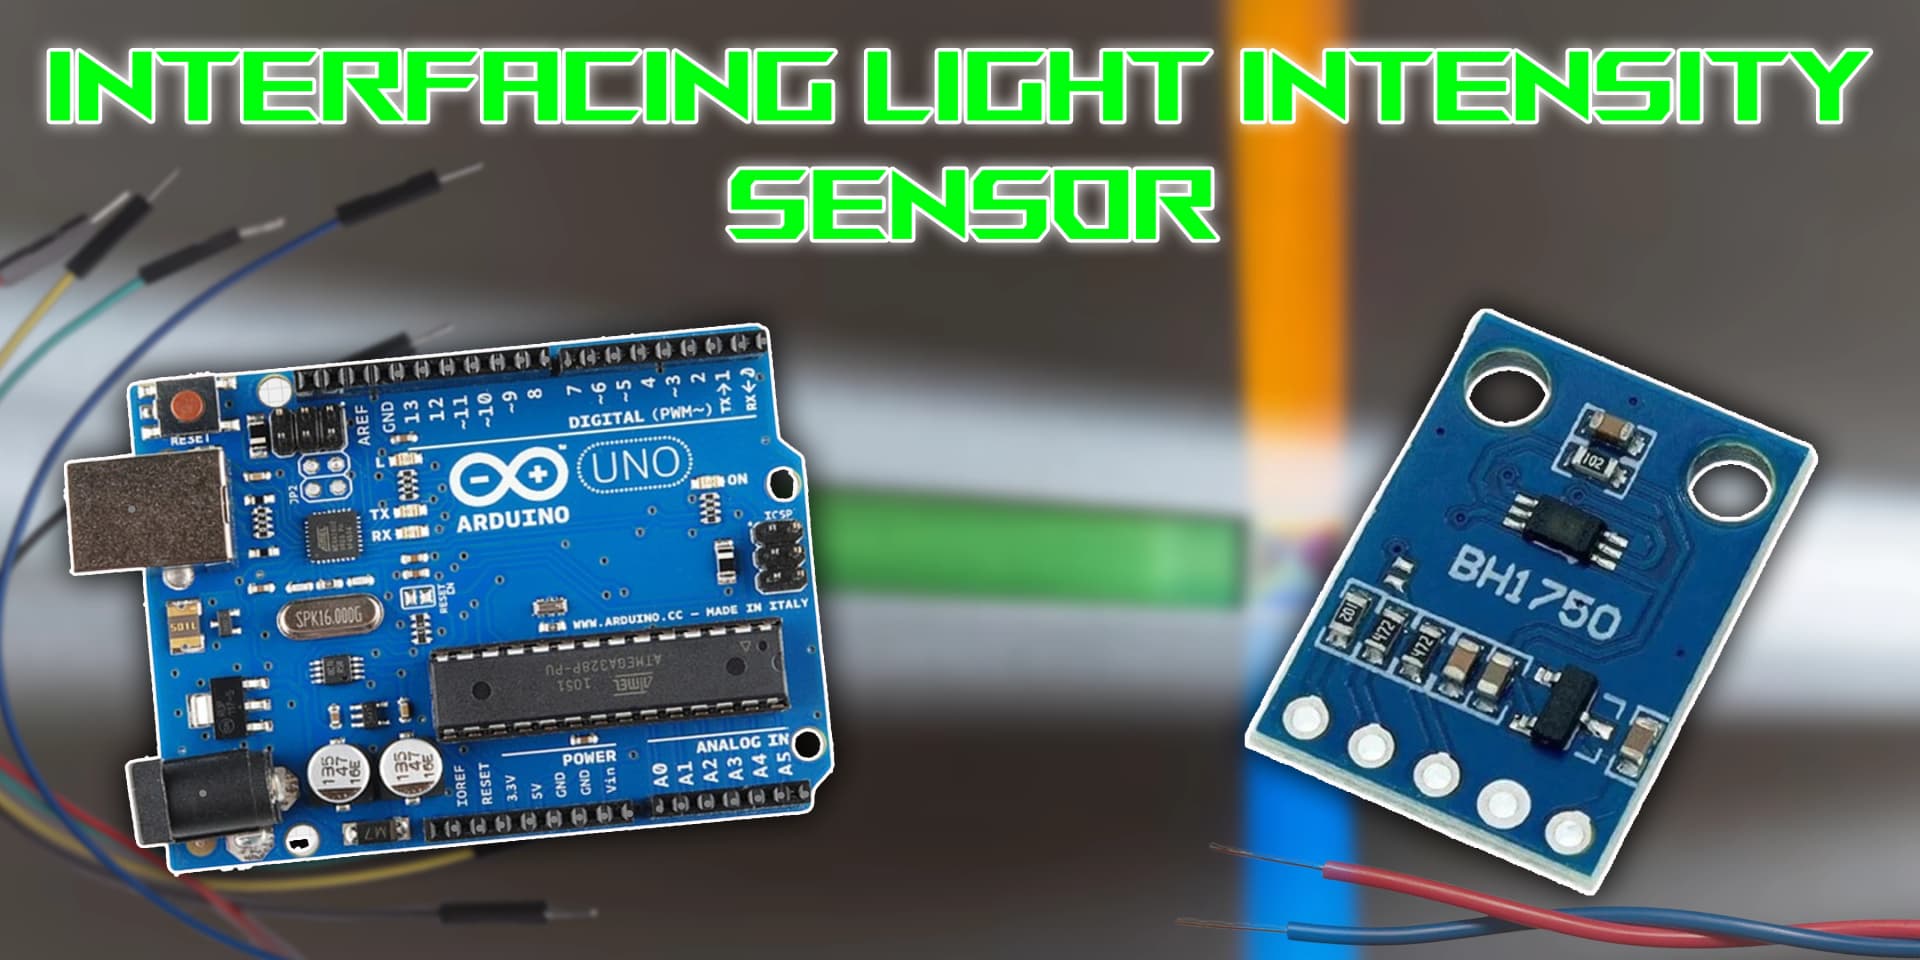
Wiring the Light Intensity Sensor to Arduino
To connect the Light Intensity Sensor to Arduino, connect the VCC and GND pins to +5V and GND on the Arduino. The A0 pin is connected to an analog input pin for continuous monitoring of light levels.
Types of Light Intensity Sensors
LDR (Light Dependent Resistor)
- Higher light intensity decreases resistance.
- Lower light intensity increases resistance.
- Arduino reads the voltage change to determine brightness.
Photodiode Sensor
- Absorbs light and generates an electric current.
- Current output is proportional to light intensity.
- Arduino reads the signal for precise light measurement.
Pin Configuration of Light Intensity Sensor
Light Intensity Sensor
- VCC: Connect to +5V on Arduino.
- GND: Connect to GND on Arduino.
- A0 (Analog Out): Connect to an analog input pin (A0).
Algorithm
Initialize Components
- Connect the VCC and GND pins of the Light Intensity Sensor to +5V and GND on the Arduino.
- Connect the A0 pin to an analog input (A0).
Write the Code
- Set the sensor pin as INPUT in the setup() function.
- Read the analog values in the loop() function.
- Use these values to control devices or log light intensity data.
Display Values or Control Devices
- Print the sensor readings to the serial monitor.
- Use the readings to adjust LED brightness or trigger alerts.
Test the Project
- Upload the code to the Arduino.
- Test the sensor by varying light intensity and observing the output.
Arduino Code
1// Define the analog pin
2const int lightSensorPin = A0;  // LDR output connected to A0
3
4void setup() {
5  Serial.begin(9600);  // Start serial monitor for output
6}
7
8void loop() {
9  // Read analog value from LDR
10  int lightValue = analogRead(lightSensorPin);
11
12  // Print the light intensity value
13  Serial.print("Light Intensity (0-1023): ");
14  Serial.println(lightValue);
15
16  // Simple condition to indicate light or dark
17  if (lightValue < 300) {
18    Serial.println("It's dark");
19  } else if (lightValue >= 300 && lightValue < 700) {
20    Serial.println("Normal lighting");
21  } else {
22    Serial.println("Very bright");
23  }
24
25  delay(1000);  // Wait 1 second before next reading
26}
27
Applications
- Ambient light detection
- Automatic lighting systems
- Solar energy monitoring
- Smart agriculture for sunlight measurement
- Security systems for detecting light changes
- Wearable devices for brightness control
Conclusion
Interfacing a Light Intensity Sensor with Arduino allows for accurate monitoring and control of ambient lighting. These sensors are widely used in smart lighting, agriculture, and wearable technology. With simple wiring and coding, you can integrate light sensing into your projects effortlessly.