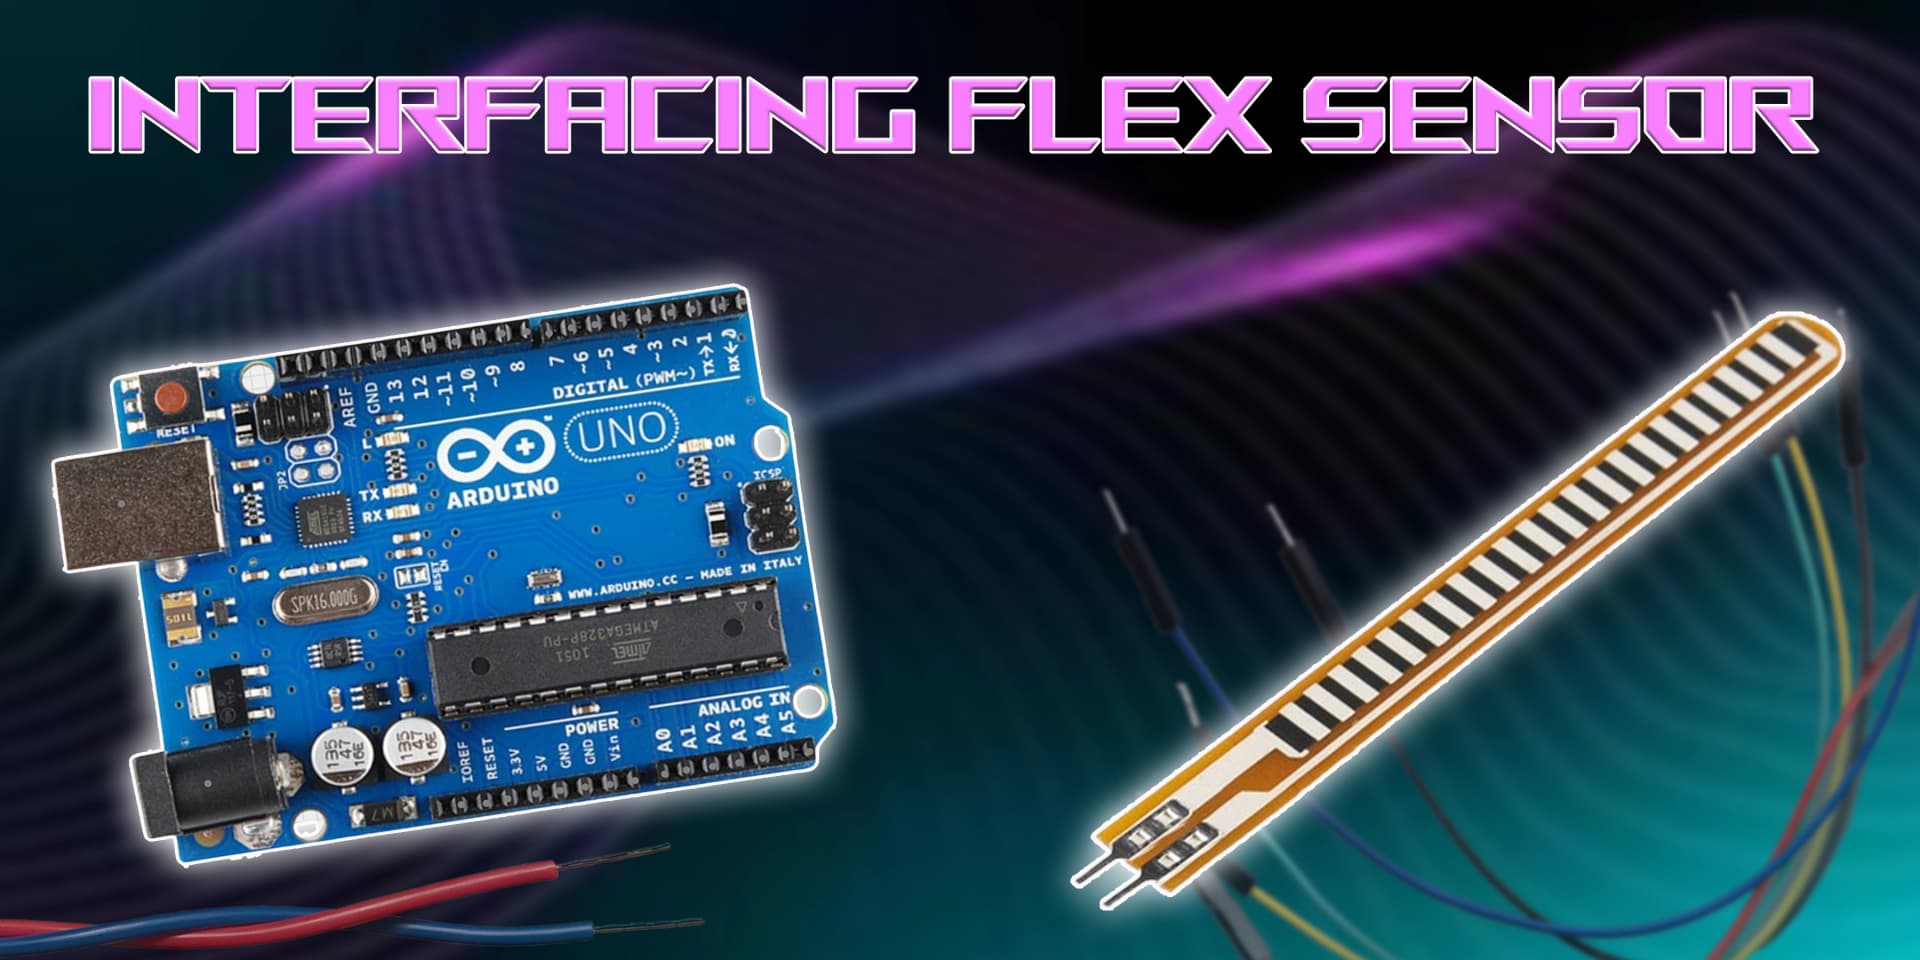
Interfacing Flex Sensor with Arduino

Flex Sensor
A Flex Sensor detects bending and flexing in its surroundings. It is commonly used in wearable devices, robotics, and gaming applications where motion detection is essential.
Working Principle of Flex Sensor
The Flex Sensor works by changing its resistance as it bends. The more it bends, the higher the resistance. Arduino reads this resistance value and converts it into a measurable bending angle.
Experiment of Code
A Flex Sensor determines bending angles by measuring resistance variations as it flexes. The Arduino reads the sensor's analog output and translates it into usable motion data.
Wiring the Flex Sensor to Arduino
To connect the Flex Sensor to Arduino, connect the VCC and GND to +5V and GND. The output pin connects to an analog input pin for reading bend values. Use a resistor to create a voltage divider circuit for stable readings.
Types of Flex Sensors
Resistive Flex Sensor
- As the sensor bends, its resistance increases.
- The change in resistance is measured by Arduino using an analog input pin.
- The values can be mapped to detect different bending angles.
Capacitive Flex Sensor
- Bending alters the capacitance between sensor plates.
- Arduino measures capacitance variations and translates them into bend angles.
- Provides high sensitivity and accuracy for motion-based applications.
Pin Configuration of Flex Sensor
Flex Sensor Module
- VCC: Connect to +5V on Arduino.
- GND: Connect to GND on Arduino.
- OUT: Outputs an analog signal based on bending angle.
- Use a pull-down resistor to stabilize readings.
Algorithm
Initialize Components
- Connect the VCC and GND pins of the Flex Sensor to +5V and GND on the Arduino.
- Connect the output pin to an analog input pin.
Write the Code
- Set the sensor pin as INPUT in the setup() function.
- Read the analog values in the loop() function.
- Map the values to represent bending angles.
Display Values or Control Devices
- Print the detected bend angle values to the serial monitor.
- Use the readings to trigger specific actions based on bending.
Test the Project
- Upload the code to the Arduino.
- Bend the sensor at different angles and observe the detected values.
Arduino Code
1const int flexPin = A0; // Analog pin connected to Flex Sensor
2
3void setup() {
4  Serial.begin(9600); // Initialize Serial Monitor
5}
6
7void loop() {
8  int sensorValue = analogRead(flexPin); // Read analog value from Flex Sensor
9
10  // Convert to voltage (optional, useful for calibration)
11  float voltage = sensorValue * (5.0 / 1023.0);
12
13  // Display raw value and voltage
14  Serial.print("Sensor Value: ");
15  Serial.print(sensorValue);
16  Serial.print(" | Voltage: ");
17  Serial.println(voltage);
18
19  // Delay for stability
20  delay(500);
21}
22
Applications
- Wearable motion tracking
- Robotic hand control
- Gaming controllers
- Biomedical devices
- Smart gloves and VR applications
- Gesture-based interfaces
Conclusion
Interfacing a Flex Sensor with Arduino allows accurate motion tracking for various applications, including wearables, gaming, and robotics. With simple wiring and coding, you can easily integrate flex sensing into your projects.