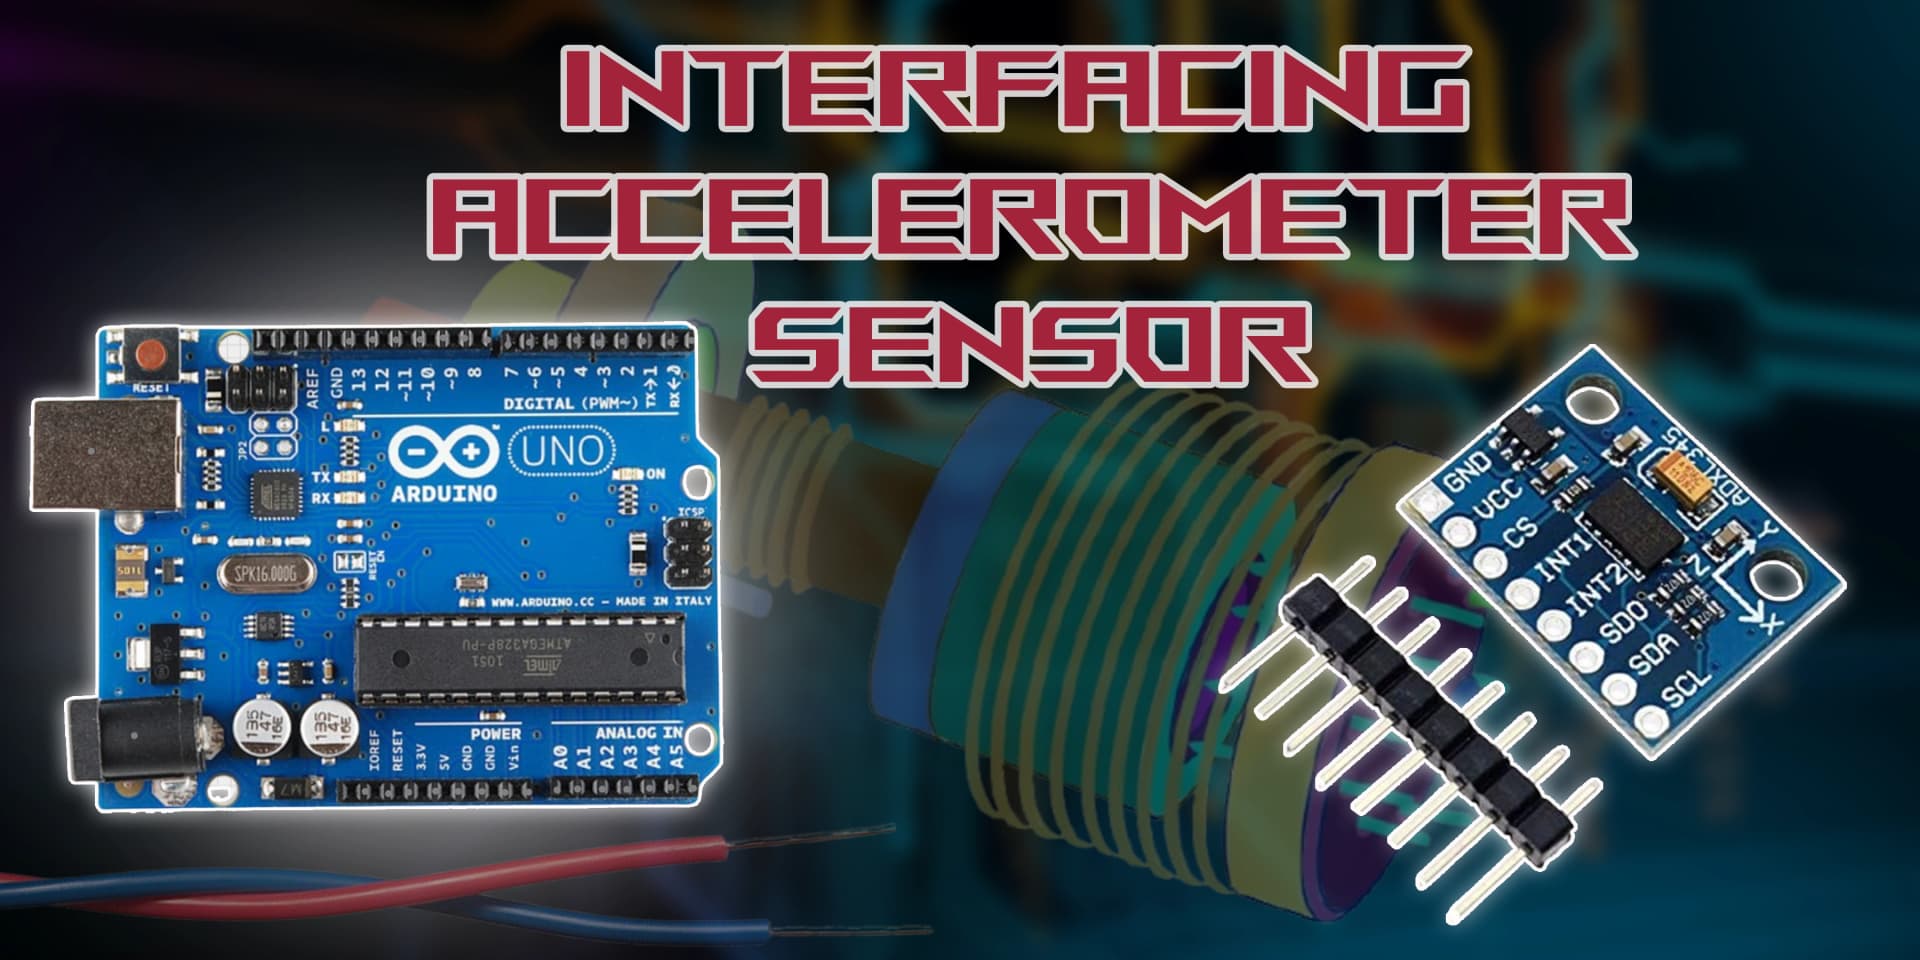
Interfacing Accelerometer Sensor with Arduino

Accelerometer Sensor
An Accelerometer Sensor measures acceleration forces, including gravity and movement. It is commonly used in motion detection, robotics, and wearable devices.
Working Principle of Accelerometer Sensor
The Accelerometer Sensor works by detecting changes in capacitance or resistance caused by motion. These changes are converted into analog or digital signals that Arduino can process.
Experiment of Code
An Accelerometer Sensor detects movement and orientation by measuring acceleration forces. The Arduino reads the sensor's output and translates it into usable motion data.
Wiring the Accelerometer Sensor to Arduino
To connect the Accelerometer Sensor to Arduino, connect the VCC and GND to +5V and GND. The X, Y, and Z output pins connect to analog input pins for reading acceleration data. Digital sensors use I2C or SPI for communication.
Types of Accelerometer Sensors
Analog Accelerometer Sensor
- Detects acceleration along X, Y, and Z axes.
- Outputs an analog voltage proportional to acceleration.
- Arduino reads the voltage and converts it into acceleration values.
Digital Accelerometer Sensor
- Detects acceleration and converts it into digital data.
- Transmits data via I2C or SPI interface.
- Arduino reads and processes the acceleration values.
Pin Configuration of Accelerometer Sensor
Accelerometer Module
- VCC: Connect to +5V on Arduino.
- GND: Connect to GND on Arduino.
- X, Y, Z: Output acceleration values for each axis.
- SCL, SDA: Used for I2C communication in digital sensors.
Algorithm
Initialize Components
- Connect the VCC and GND pins of the Accelerometer Sensor to +5V and GND on the Arduino.
- Connect the X, Y, and Z output pins to analog input pins (for analog sensors).
Write the Code
- Set the sensor pins as INPUT in the setup() function.
- Read the acceleration values in the loop() function.
- Convert the values into meaningful motion data.
Display Values or Control Devices
- Print the detected acceleration values to the serial monitor.
- Use the readings to trigger specific actions based on motion.
Test the Project
- Upload the code to the Arduino.
- Move the sensor in different directions and observe the detected values.
Arduino Code
1// Define analog pins for X, Y, Z axes
2const int xPin = A0;
3const int yPin = A1;
4const int zPin = A2;
5
6void setup() {
7  Serial.begin(9600); // Start serial communication
8}
9
10void loop() {
11  // Read analog values from the sensor
12  int xValue = analogRead(xPin);
13  int yValue = analogRead(yPin);
14  int zValue = analogRead(zPin);
15
16  // Convert raw values (0-1023) to voltage (assuming 3.3V reference)
17  float xVoltage = (xValue * 3.3) / 1023.0;
18  float yVoltage = (yValue * 3.3) / 1023.0;
19  float zVoltage = (zValue * 3.3) / 1023.0;
20
21  // Print values to serial monitor
22  Serial.print("X: "); Serial.print(xVoltage, 2); Serial.print(" V\t");
23  Serial.print("Y: "); Serial.print(yVoltage, 2); Serial.print(" V\t");
24  Serial.print("Z: "); Serial.print(zVoltage, 2); Serial.println(" V");
25
26  delay(500); // Delay for readability
27}
28
Applications
- Motion tracking in robotics
- Wearable fitness devices
- Smartphone screen orientation
- Gaming controllers
- Automotive crash detection
- Industrial vibration monitoring
Conclusion
Interfacing an Accelerometer Sensor with Arduino enables precise motion tracking for applications like robotics, wearables, and gaming. With simple wiring and coding, you can integrate motion sensing into your projects.