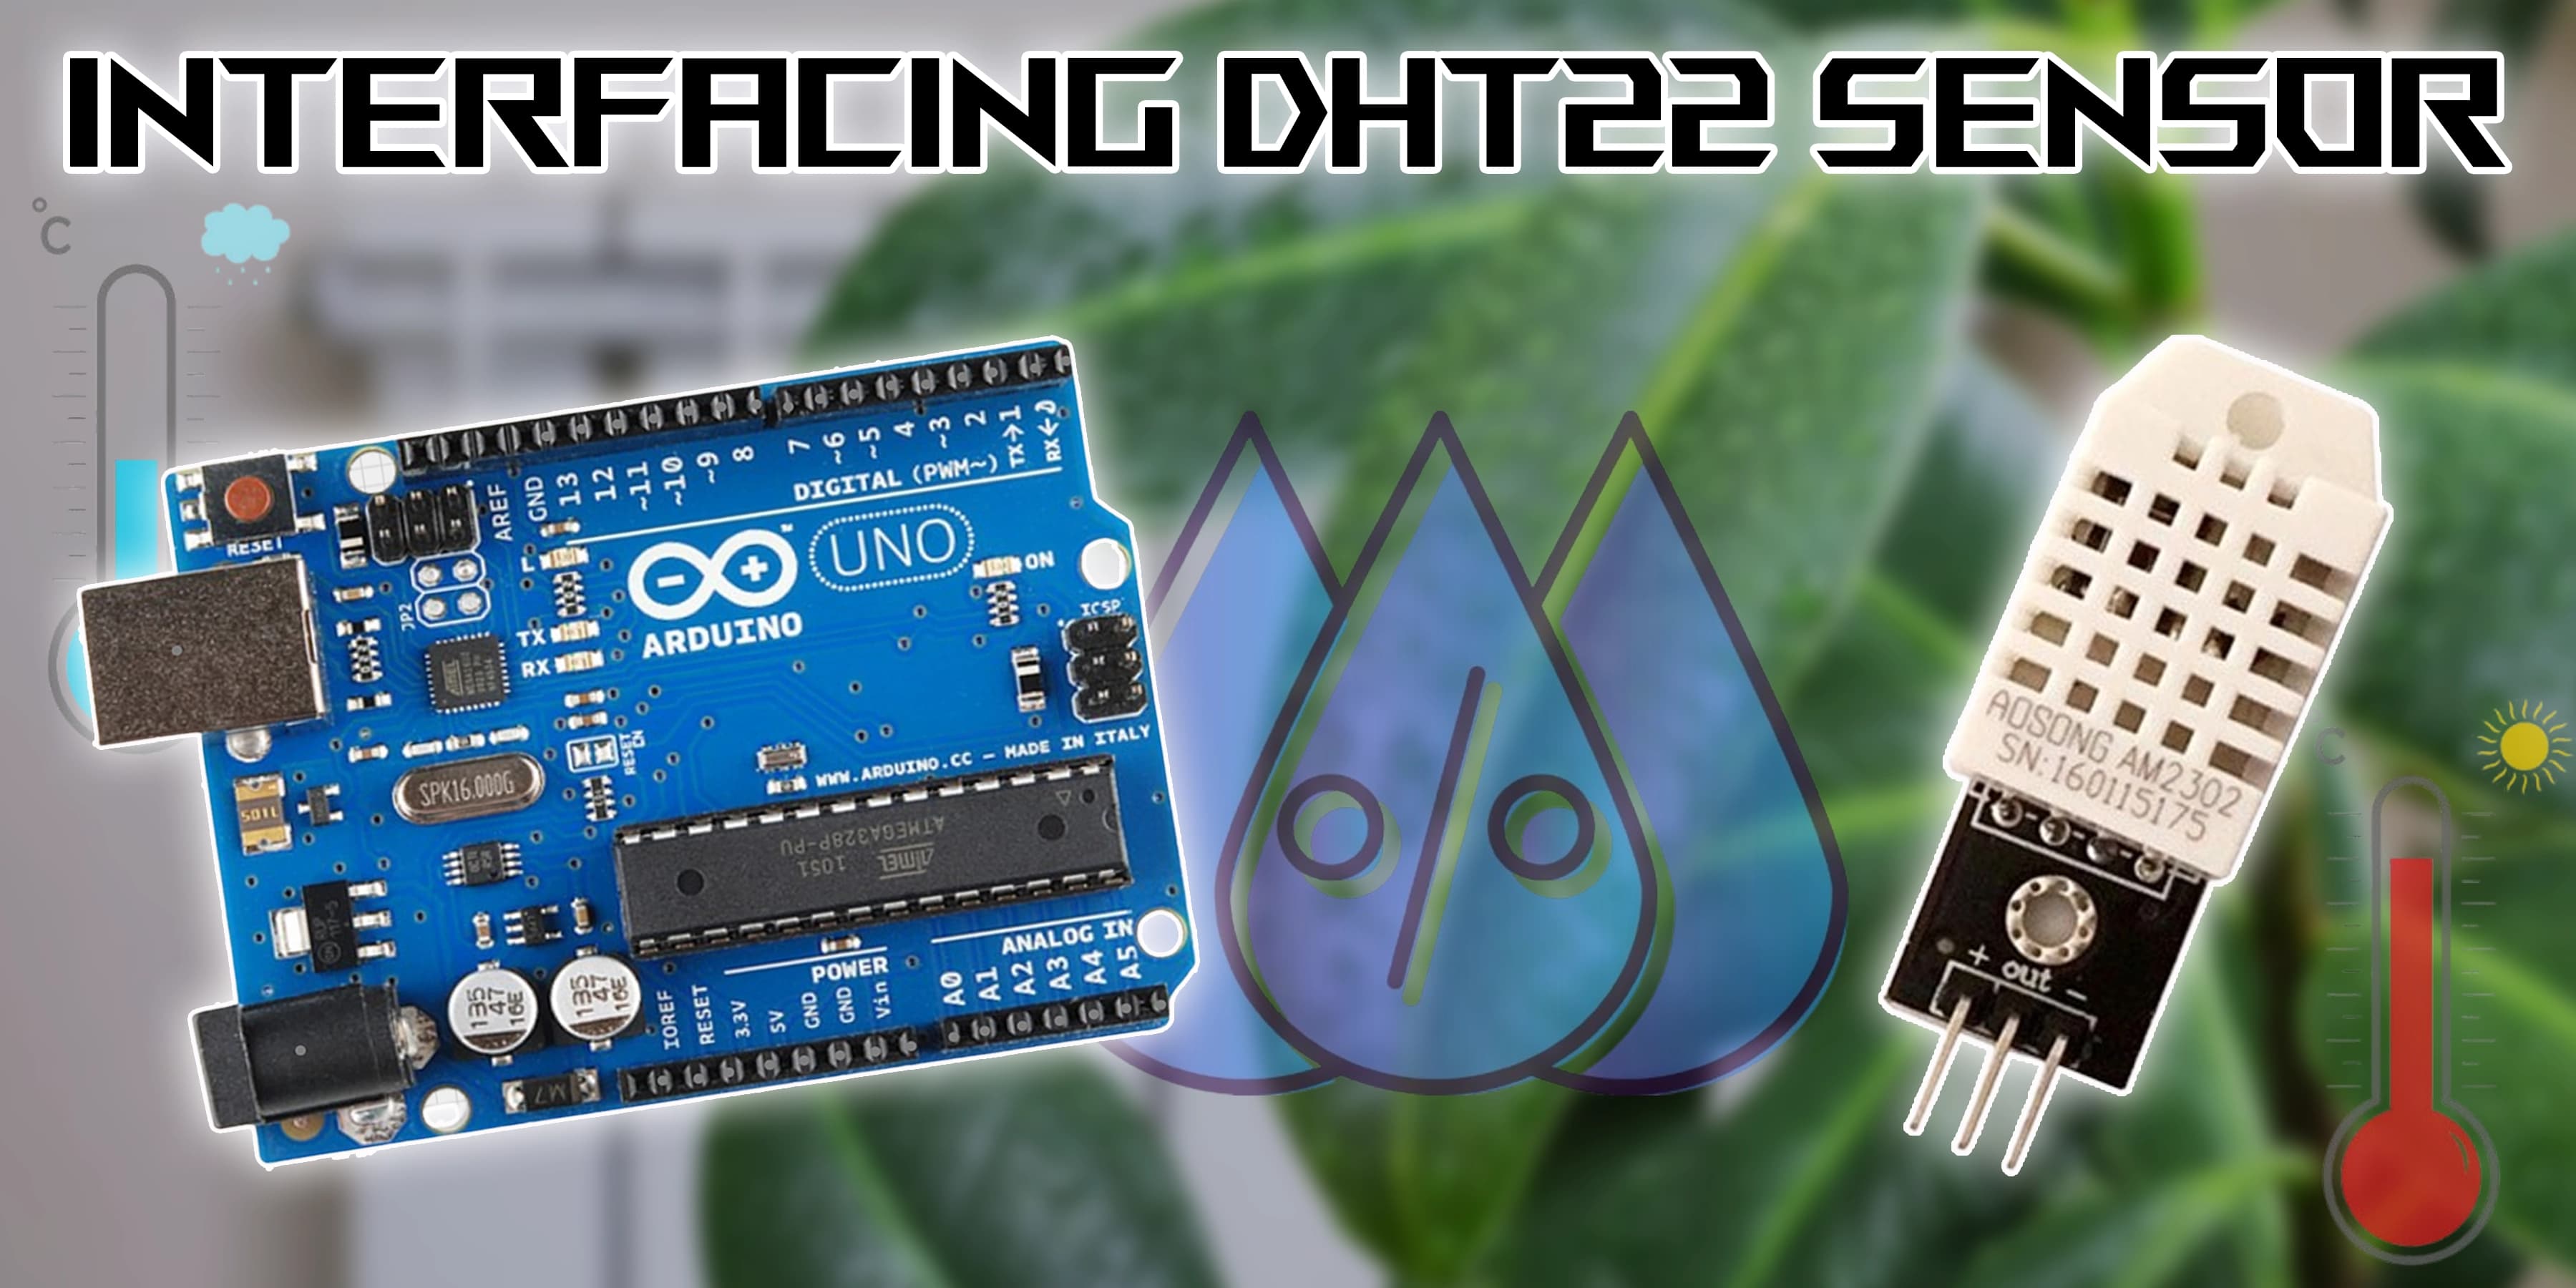
How to Interface DHT22 (AM2302) Temperature & Humidity Sensor with Arduino UNO
The DHT 22, referred to as AM2302, has many uses in a variety of professions and companies because of its precise temperature and humidity measurement capabilities. The DHT22 sensor's flexibility in sensing temperature and humidity allows you to use it for a plethora of tasks. Here are some ideas for projects.
Home Weather Station Indoor Climate Monitoring Plant Monitoring System HVAC Control Incubator Controller Food Storage Monitoring etc .
Overview of this Experiment
The DHT22 sensor is a popular digital sensor that is used to measure temperature and humidity. It is also known as the AM2302 sensor.A simple, inexpensive digital temperature and humidity sensor is the DHT22. It measures the ambient air using a thermistor and a capacitive humidity sensor, then outputs a digital signal on the data pin (no analogue input connections are required). Although it's rather easy to use, time is crucial when collecting data.

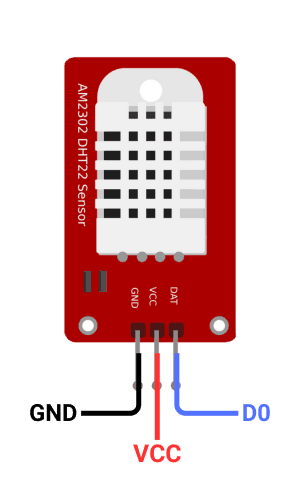
Pin Diagram of DHT22 Sensor
Circuit Diagram
Steps
1. Connect VCC to 5V, GND to GND.
2. Connect data pin to digital pin.
3. Install DHT library in Arduino IDE.
4. Write code to read sensor data.
5. Initialize sensor in setup().
6. Read temperature and humidity in loop().
Code
1
2#include <DHT.h>
3
4// Define the DHT11 sensor type and the pin where it is connected
5#define DHTPIN 7        // DHT11 data pin connected to pin 7
6#define DHTTYPE DHT11   // DHT 11 sensor
7
8DHT dht(DHTPIN, DHTTYPE);  // Initialize the DHT sensor
9
10void setup() {
11  // Start the serial communication for output
12  Serial.begin(9600);
13
14  // Initialize the DHT sensor
15  dht.begin();
16}
17
18void loop() {
19  // Wait a few seconds between measurements
20  delay(2000);
21
22  // Reading temperature and humidity from DHT11
23  float humidity = dht.readHumidity();
24  float temperature = dht.readTemperature(); // In Celsius
25  // If you want Fahrenheit, use dht.readTemperature(true);
26
27  // Check if any read failed and exit the function early
28  if (isnan(humidity) || isnan(temperature)) {
29    Serial.println("Failed to read from DHT sensor!");
30    return;
31  }
32
33  // Print the results to the Serial Monitor
34  Serial.print("Humidity: ");
35  Serial.print(humidity);
36  Serial.print(" %	");
37  Serial.print("Temperature: ");
38  Serial.print(temperature);
39  Serial.println(" *C");
40}
41
42