Complete Raspberry Pi Setup & Projects Guide
What is Raspberry Pi?
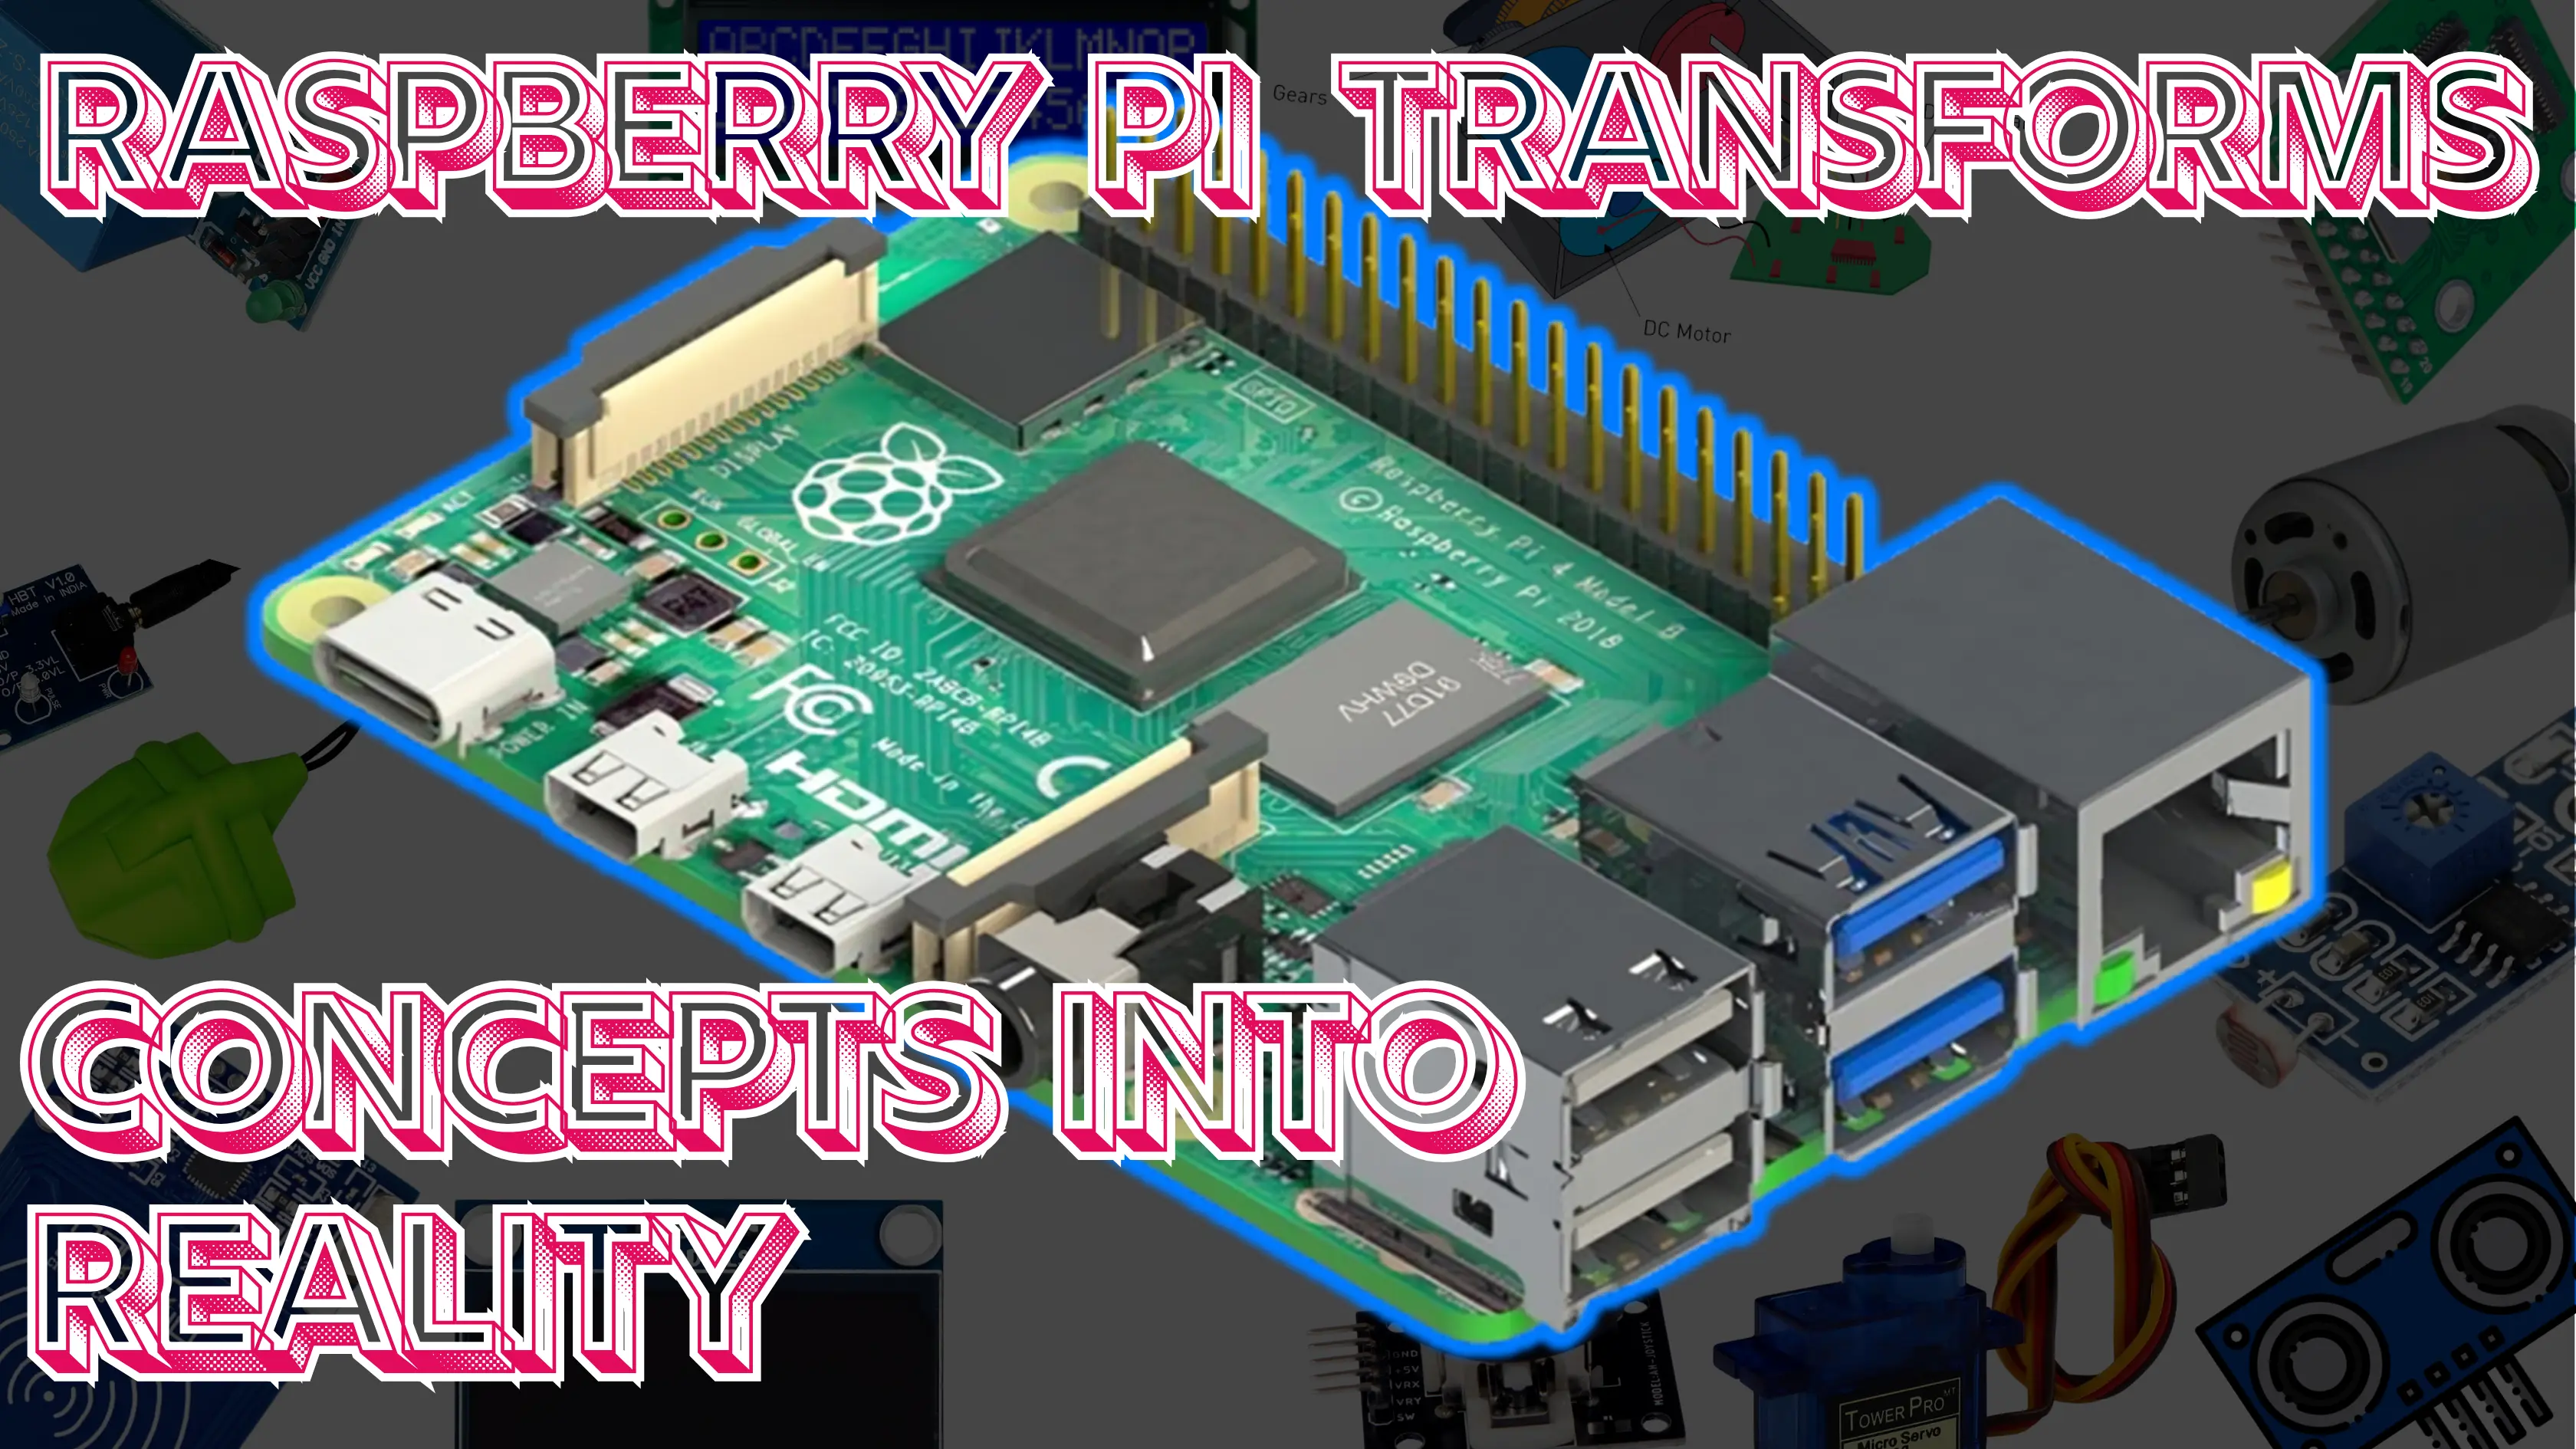
Raspberry Pi is a pocket-sized, affordable computer designed to teach programming and computing skills. It is widely used in IoT, robotics, home automation, and educational projects.
It features an ARM processor, memory, GPIO pins for hardware interfacing, USB, HDMI ports, Wi-Fi, Bluetooth, and runs Linux based operating systems like Raspberry Pi OS.
This guide covers everything you need to start with Raspberry Pi — from unboxing and setup to coding your first projects.
Step 1: What You Need to Get Started
- Raspberry Pi board (Model 3, 4, or Zero W recommended)
- MicroSD card (16GB or higher, Class 10 recommended)
- Power supply (5V 3A for Pi 4)
- HDMI cable and monitor (or use headless setup)
- USB Keyboard and mouse
- Internet connection (Wi-Fi or Ethernet)
- Optional: Case, heatsinks, camera module, sensors
Step 2: Installing Raspberry Pi OS on MicroSD Card
Download the Raspberry Pi Imager tool from the official website:raspberrypi.com/software
Insert the MicroSD card into your computer, launch the Imager, select Raspberry Pi OS (recommended), and write the image to the card.
After flashing, safely eject the MicroSD card and insert it into your Raspberry Pi.
Step 3: First Boot & Basic Configuration
Power on your Raspberry Pi. The OS will boot up, and you will see the desktop.
Complete the initial setup wizard to set up:
- Locale, language, and timezone
- Wi-Fi network connection
- Username and password
- Software updates
Enable SSH or VNC if you want to control the Pi remotely.
Step 4: Using GPIO Pins for Hardware Projects
Raspberry Pi's 40 GPIO pins allow connection with sensors, LEDs, motors, and other devices.
You can program the pins using Python libraries like RPi.GPIO or gpiozero to read sensor data or control actuators.
Always check the pinout diagram to avoid damaging your Raspberry Pi.
Step 5: Your First Project - Blinking LED
Connect an LED with a suitable resistor to GPIO pin 17 and ground. Then, run this simple Python code:
import RPi.GPIO as GPIO
import time

GPIO.setmode(GPIO.BCM)
GPIO.setup(17, GPIO.OUT)

while True:
    GPIO.output(17, GPIO.HIGH)
    time.sleep(1)
    GPIO.output(17, GPIO.LOW)
    time.sleep(1)
This will make the LED blink every second. Congratulations, your Raspberry Pi is controlling hardware!
Popular Raspberry Pi Models
- Raspberry Pi 4 Model B: Latest powerful model with up to 8GB RAM
- Raspberry Pi 3 Model B+: Older but widely used, great for beginners
- Raspberry Pi Zero W: Ultra-compact and low-cost
Additional Resources & Tutorials
Explore more projects and tutorials on our mainProjects Page, or learn about advanced IoT integration and robotics.
Conclusion
Raspberry Pi is a versatile and powerful tool for learning and building electronics, IoT devices, and robots.
With this step-by-step setup and your first project, you are ready to explore countless possibilities in technology and programming.
Happy making!