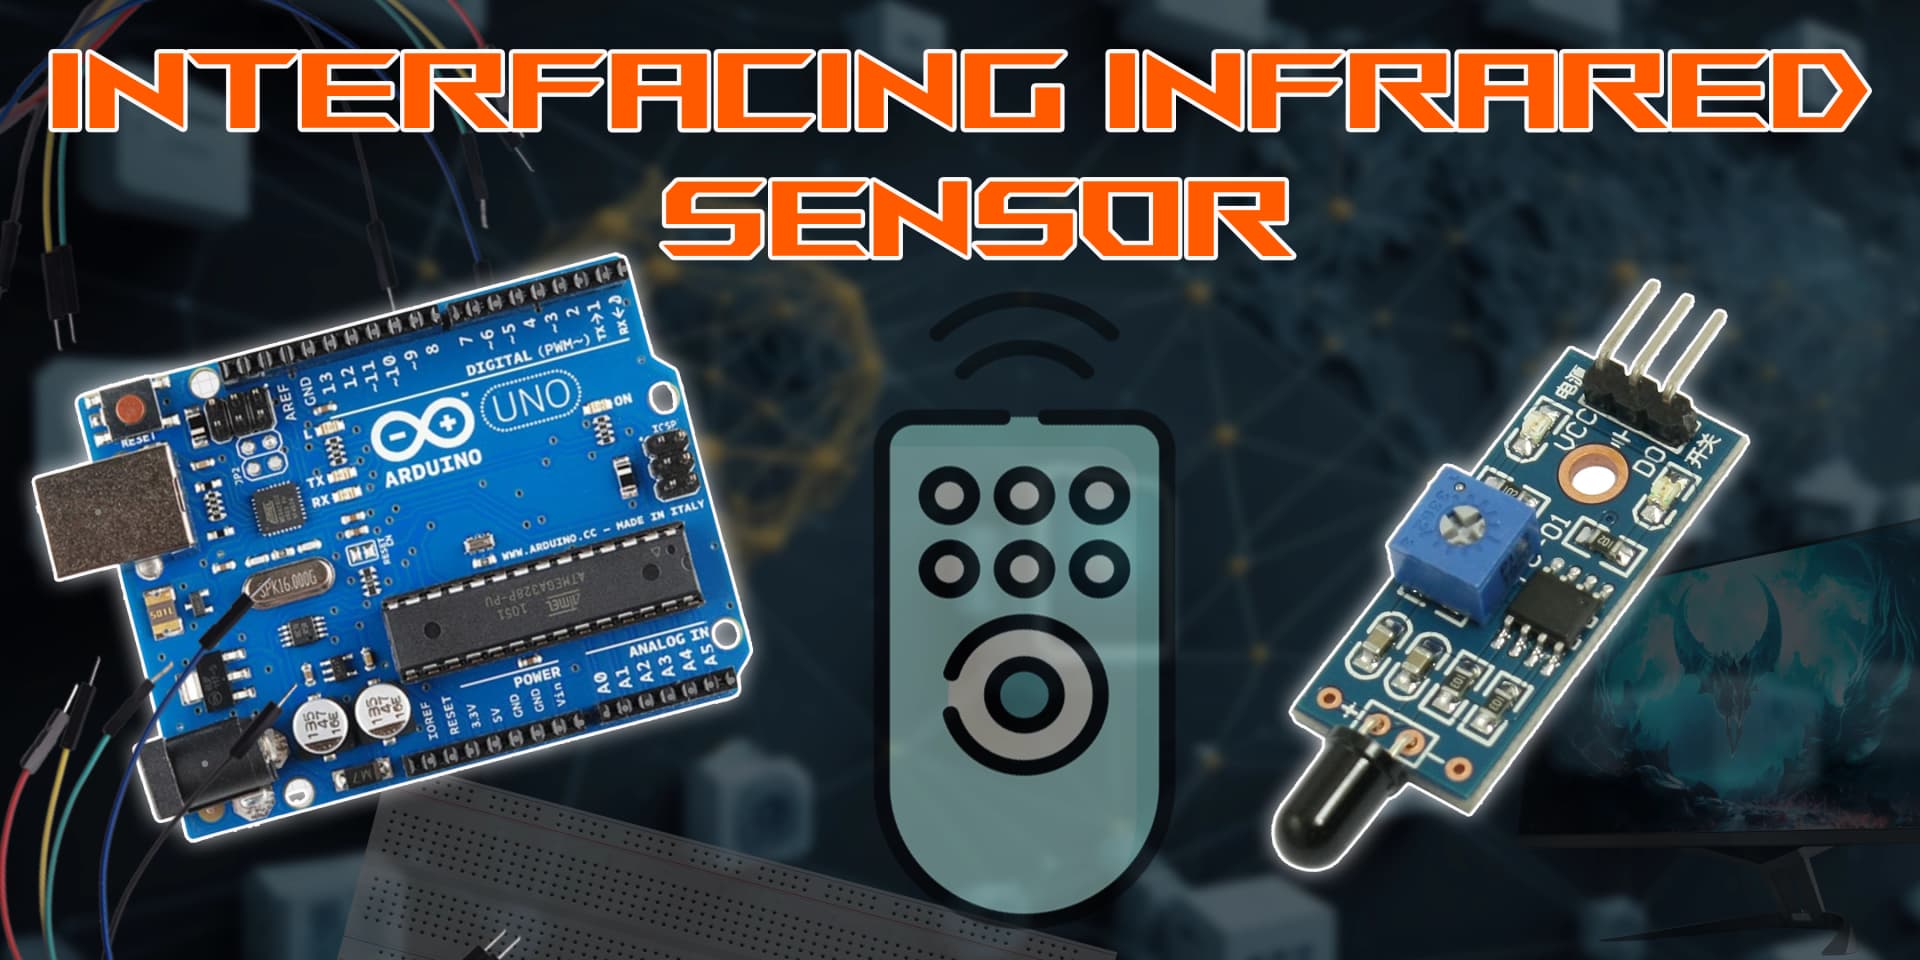
Interfacing IR Sensor with Arduino

IR (Infrared) Sensor
An IR sensor uses infrared light to detect objects and measure proximity. It consists of an IR LED and a photodiode that detects reflected light. This module is widely used in obstacle detection, line-following robots, and motion sensing applications.
How Does an IR Sensor Work
An IR sensor emits infrared light, which reflects off objects. The reflected light is detected by a photodiode, which converts it to an electrical signal. Digital IR sensors provide a HIGH signal when an object is detected, while analog IR sensors output variable voltage depending on the object's distance.
Explanation of Code
The code reads the IR sensor's digital output using Arduino. When an object is detected, the sensor outputs a HIGH signal, which triggers the corresponding action. This system is useful for object detection and proximity sensing applications.
Applications of IR Sensors
Arrangement
1. VCC
2. GND
3. OUT (Digital Output)
Types of IR Sensors
Analog IR Sensor
- Provides variable voltage output based on distance.
- Suitable for proximity detection and distance measurement.
Digital IR Sensor
- Outputs HIGH/LOW based on object detection.
- Used in obstacle detection and line-following robots.
Pin Configuration of IR Sensor
Standard IR Sensor Configuration
- VCC: Connect to 5V on Arduino.
- GND: Connect to Arduino ground (GND).
- OUT: Connect to a digital input pin on Arduino.
Analog IR Sensor Configuration
- Connect OUT pin to an analog input (e.g., A0).
- Read varying voltage for distance measurement.
Components Required
- Arduino Uno (or compatible board)
- IR Sensor Module
- Jumper Wires
- Breadboard (optional)
Circuit Connections
IR Sensor to Arduino
- Connect VCC to Arduino 5V.
- Connect GND to Arduino ground.
- Connect OUT pin to Arduino digital pin 7.
Analog IR Sensor to Arduino
- Connect VCC to 5V.
- Connect GND to GND.
- Connect OUT to A0 for analog readings.
Algorithm
Define the Pins
- Assign the IR sensor OUT pin to a digital pin (e.g., pin 7).
Initialize the Arduino
- Set the IR sensor pin as INPUT in setup().
- Begin serial communication for monitoring.
Read IR Sensor Data
- Check if the sensor outputs HIGH or LOW.
- If HIGH, an object is detected.
Trigger an Action
- Perform actions like turning on LEDs when an object is detected.
Repeat the Process
- Continuously check the sensor and update actions.
Arduino Code
1// Interfacing IR Sensor with Arduino for Object Detection
2
3// Define the pin connected to the OUT pin of IR sensor
4#define IR_SENSOR_PIN 2  // Digital Pin 2
5
6void setup() {
7  // Start the Serial Monitor at 9600 baud rate
8  Serial.begin(9600);
9
10  // Set the IR sensor pin as input
11  pinMode(IR_SENSOR_PIN, INPUT);
12}
13
14void loop() {
15  // Read the state of IR sensor
16  int sensorValue = digitalRead(IR_SENSOR_PIN);
17
18  // If sensorValue is LOW, an object is detected (for most IR sensors)
19  if (sensorValue == LOW) {
20    Serial.println("Object Detected");
21  } else {
22    Serial.println("No Object");
23  }
24
25  delay(500); // Delay to make output readable
26}
27
Applications
- Obstacle Detection in Robots
- Line-Following Robots
- Motion Detection Systems
- Automatic Door Systems
- Proximity Measurement
Conclusion
Interfacing an IR sensor with Arduino allows you to detect objects and measure proximity. This setup is widely used in automation and robotics, providing a simple and effective solution for motion and obstacle detection.