Interfacing Hall Sensor with Arduino
Hall Sensor
A Hall Sensor detects the presence of a magnetic field. It is commonly used in speed detection, proximity sensing, and current measurement applications.
Working Principle of Hall Sensor
The Hall Sensor works by generating a voltage (Hall voltage) when exposed to a magnetic field. The Arduino reads this voltage and determines the presence and strength of the magnetic field.
Experiment of Code
A Hall Sensor detects magnetic fields by generating a voltage that Arduino can interpret. The output can be used for speed detection, position sensing, or security systems.
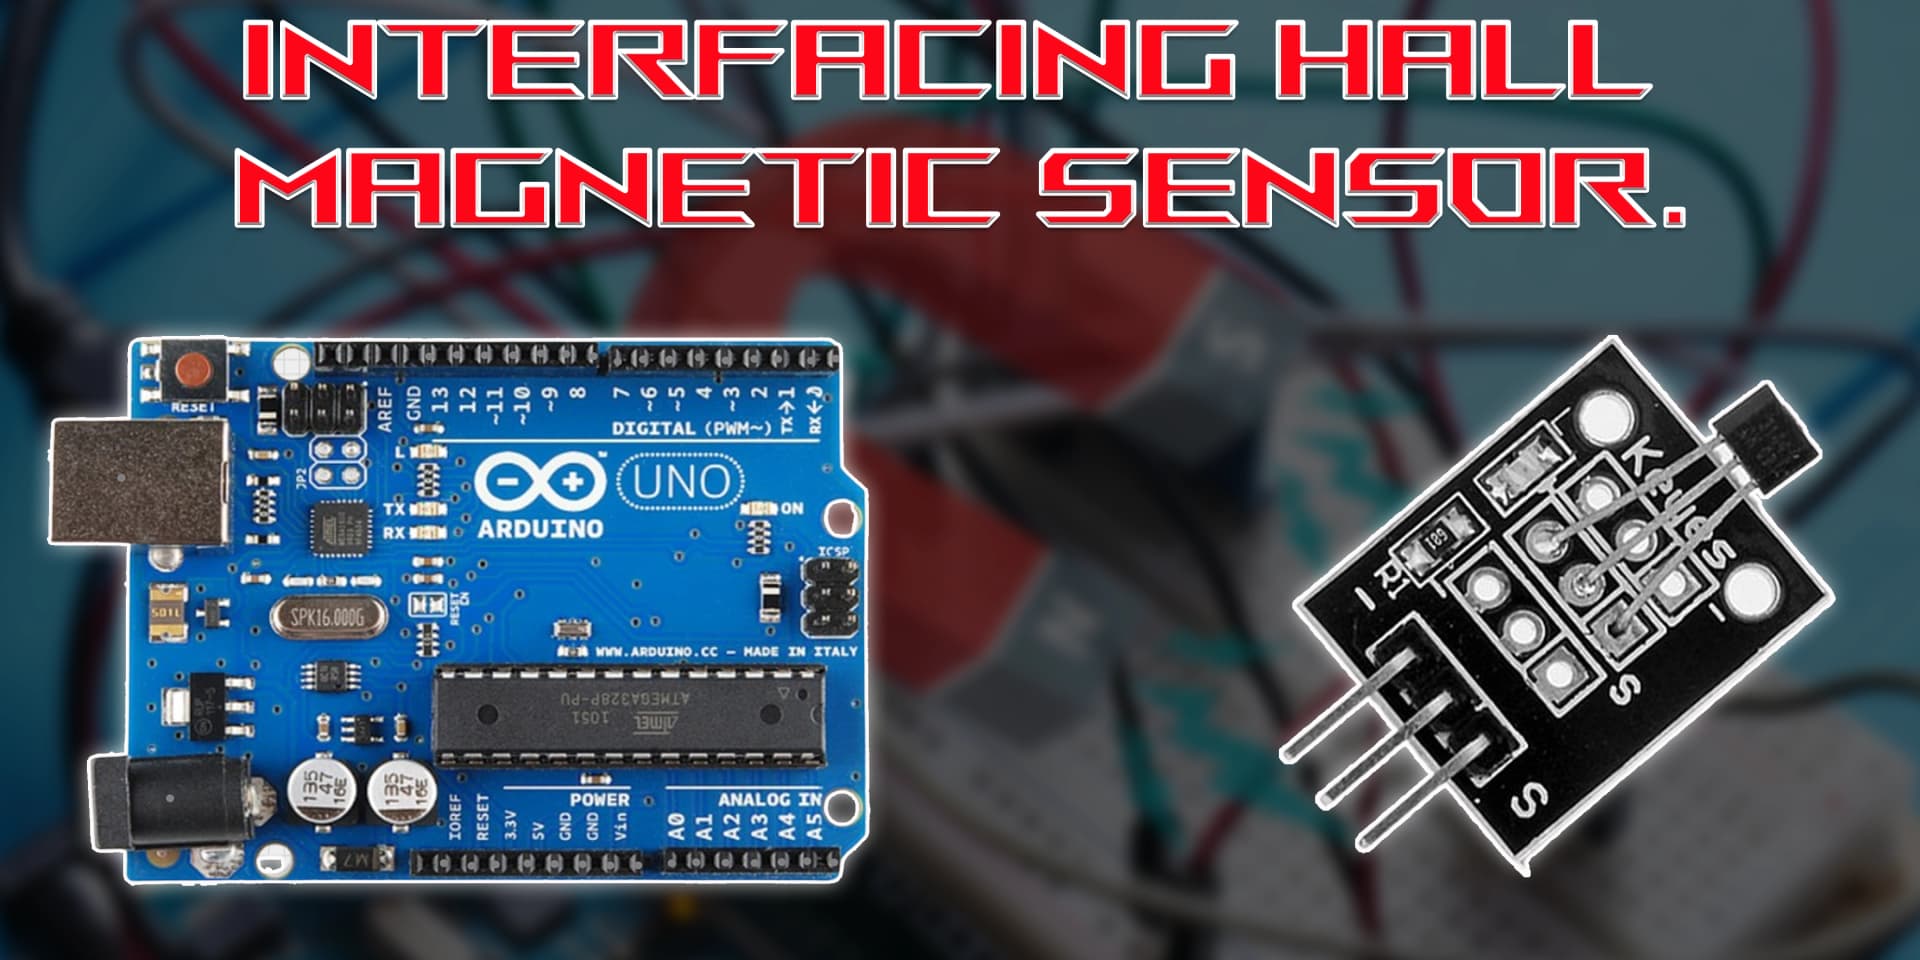
Wiring the Hall Sensor to Arduino
To connect the Hall Sensor to Arduino, connect the VCC and GND to +5V and GND. The output pin connects to an analog or digital input pin for reading magnetic field values.
Types of Hall Sensors
Analog Hall Sensor
- Generates an analog voltage based on the detected magnetic field.
- Arduino reads the voltage through an analog input pin.
- Values can be mapped to determine field strength.
Digital Hall Sensor
- Outputs HIGH when a magnetic field is detected.
- Outputs LOW when no magnetic field is present.
- Useful for contactless switches and speed sensing.
Pin Configuration of Hall Sensor
Hall Sensor Module
- VCC: Connect to +5V on Arduino.
- GND: Connect to GND on Arduino.
- OUT: Outputs an analog or digital signal based on the type of sensor used.
Algorithm
Initialize Components
- Connect the VCC and GND pins of the Hall Sensor to +5V and GND on the Arduino.
- Connect the output pin to an analog or digital input pin.
Write the Code
- Set the sensor pin as INPUT in the setup() function.
- Read the analog or digital values in the loop() function.
- Convert the readings to detect magnetic fields.
Display Values or Control Devices
- Print the detected magnetic field values to the serial monitor.
- Use the readings to trigger specific actions based on magnetic presence.
Test the Project
- Upload the code to the Arduino.
- Bring a magnet close to the sensor and observe the detected values.
Arduino Code
1const int hallPin = 2;     // Pin connected to the OUT pin of the Hall sensor
2const int ledPin = 13;     // Built-in LED for visual indication
3
4void setup() {
5  pinMode(hallPin, INPUT);     // Set hall sensor pin as input
6  pinMode(ledPin, OUTPUT);     // Set LED pin as output
7  Serial.begin(9600);          // Initialize serial communication
8}
9
10void loop() {
11  int hallState = digitalRead(hallPin); // Read the sensor's digital output
12
13  if (hallState == LOW) { // Magnetic field is detected (sensor outputs LOW)
14    digitalWrite(ledPin, HIGH); // Turn ON LED
15    Serial.println("Magnet Detected");
16  } else {
17    digitalWrite(ledPin, LOW); // Turn OFF LED
18    Serial.println("No Magnet");
19  }
20
21  delay(300); // Delay for stability
22}
23
Applications
- Speed sensing in motors
- Proximity detection
- Magnetic field measurement
- Security and alarm systems
- Current sensing in power systems
- Contactless switches
Conclusion
Interfacing a Hall Sensor with Arduino enables precise magnetic field detection for various applications, including automation, security, and industrial sensing. With simple wiring and coding, you can easily integrate magnetic sensing into your projects.