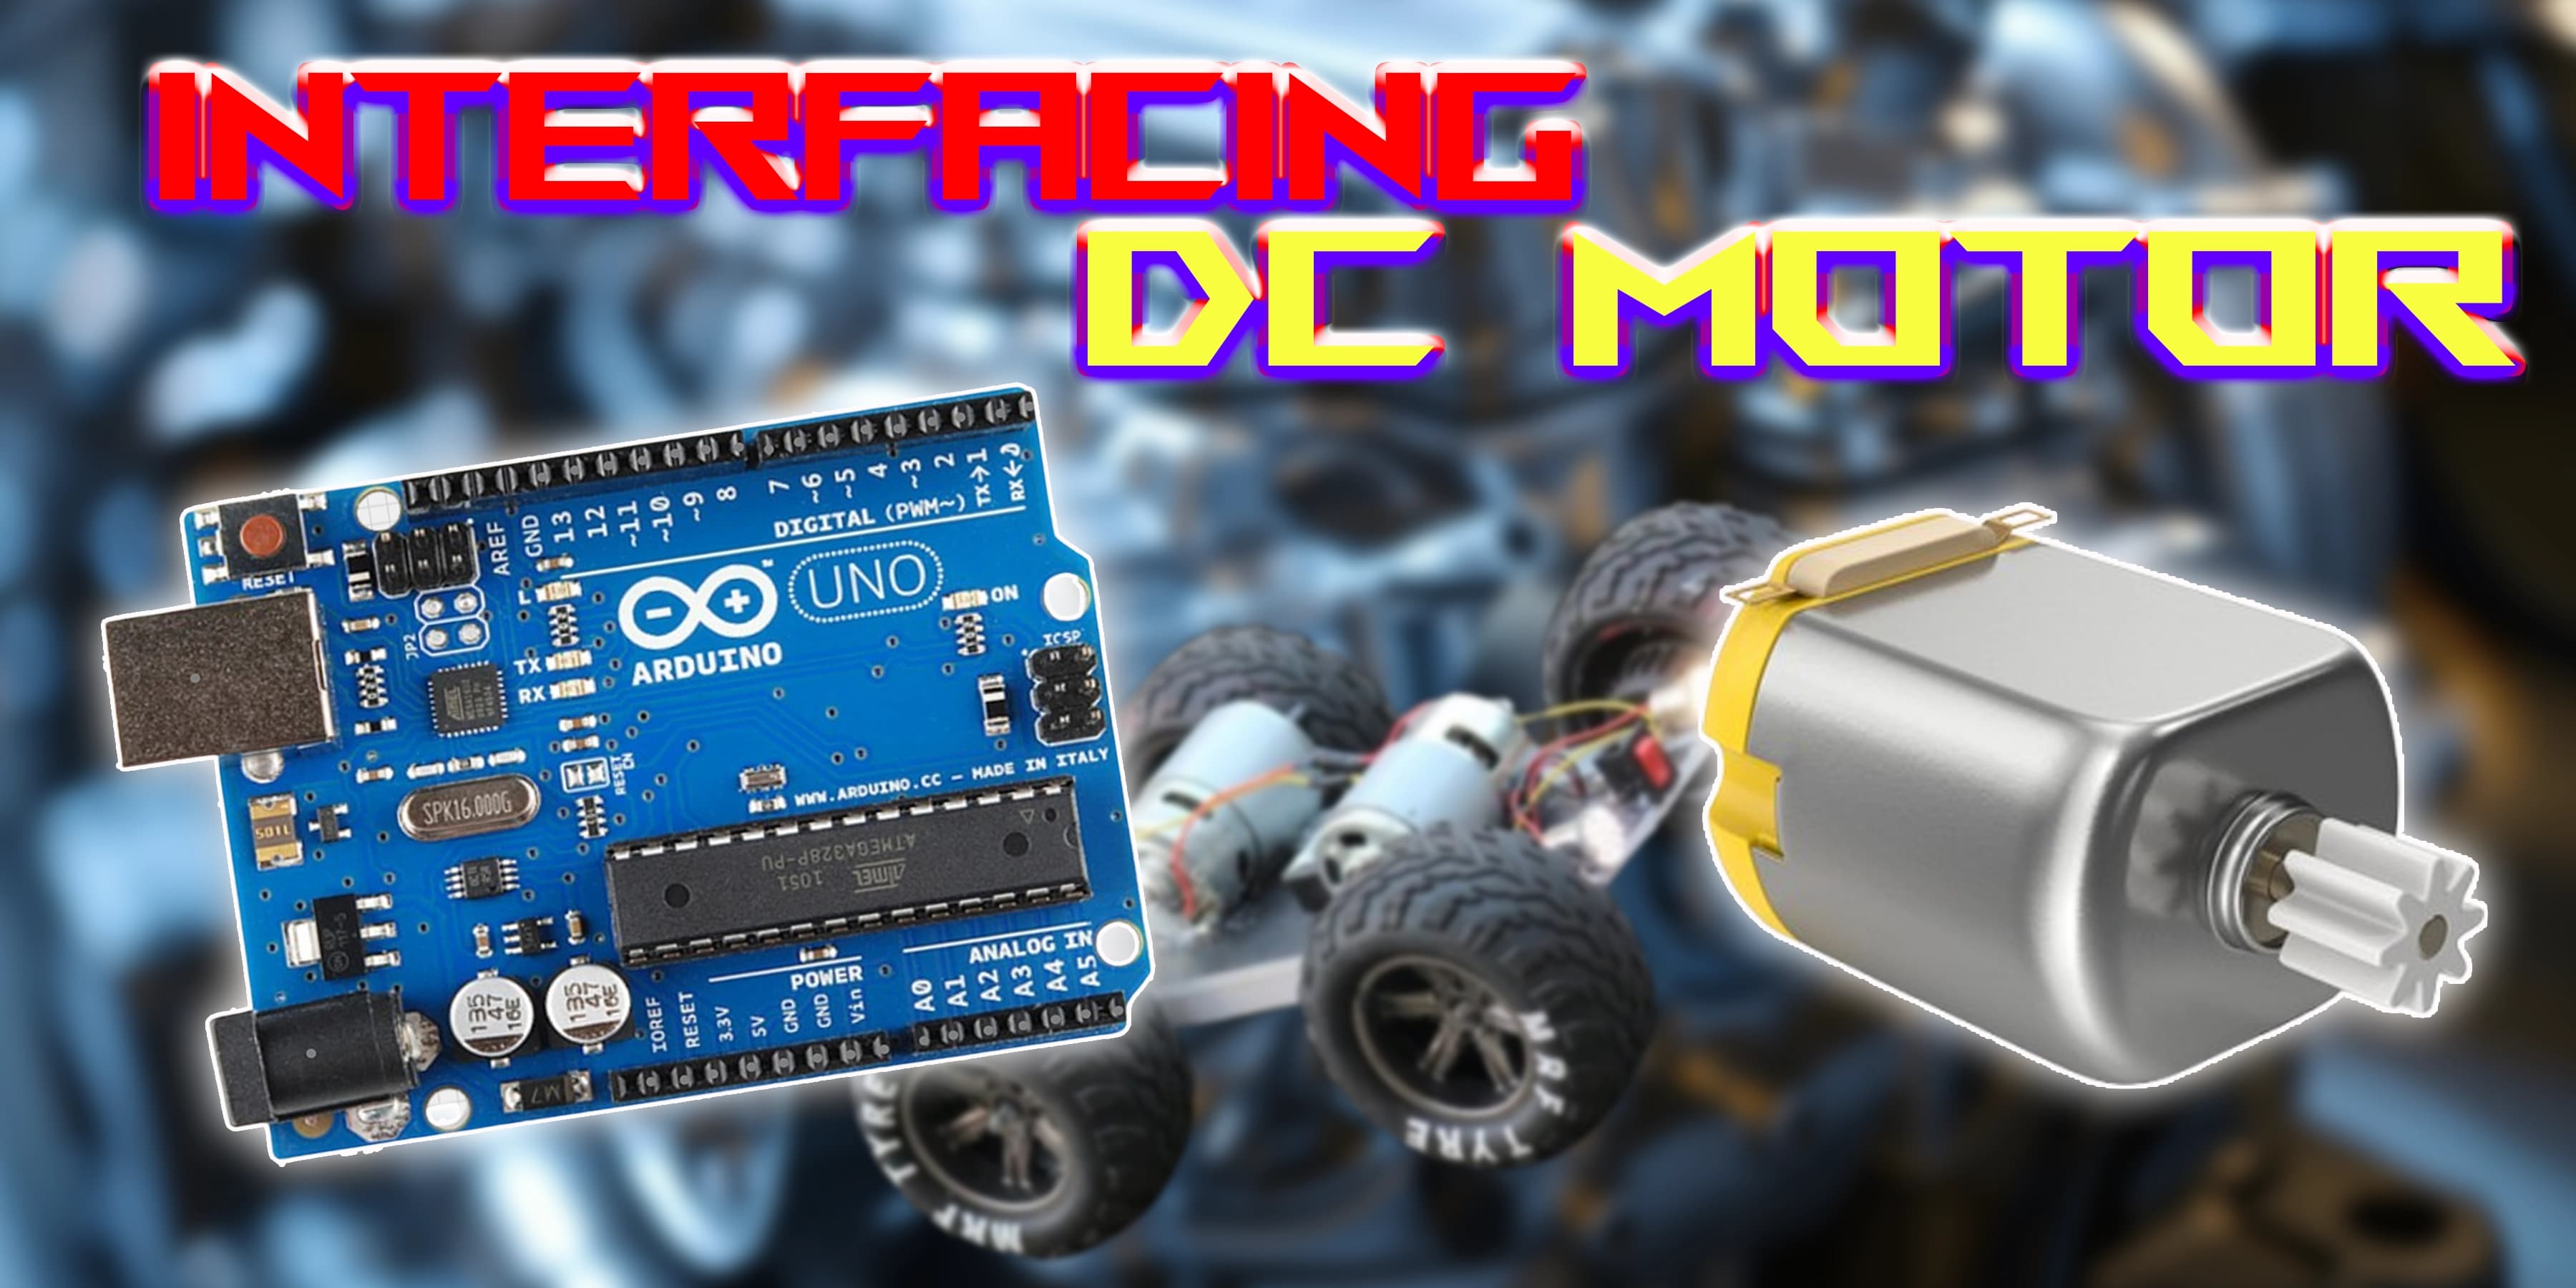
How to Control a DC Motor with Arduino: Using L298N and L293D Drivers
Ever dreamt of your Arduino spinning like a miniature robot DJ? Well, DC motors are your answer! Imagine bringing your creations to life with just a few wires and code. Picture a spinning fan, toy car wheels zooming around, or even a tiny windmill whirring away – all powered by your Arduino! That's the magic of DC motors, and it's pretty cool, wouldn't you agree? Let's dive in and see how we can make it happen!
Okay, let us break it down! The Arduino transmits signals to the motor, serving as a DJ spinning the tunes and controlling how quickly or slow they spin. Want to be the motor maestro, controlling its speed and direction? Let's connect the cables and start the motor moving! Okay, let us break it down! The Arduino transmits signals to the motor, serving as a DJ spinning the tunes and controlling how quickly or slow they spin. Want to be the motor maestro, controlling its speed and direction? Let's connect the cables and start the motor moving!
Overview of this Experiment
An electric motor that spins a shaft to transform direct current (DC) into mechanical motion is known as a DC motor. It rotates the motor by generating a magnetic field that interacts with the coils. DC motors are frequently utilized for movement control in toys, fans, robots, and automation projects.You may use code to control the speed and direction of a DC motor by connecting it to an Arduino. The Arduino controls power flow by sending signals to the motor via a motor driver or transistor. Building robots, conveyor belts, or any other project requiring controlled motion is a perfect fit for this configuration.

Pin Diagram

Circuit Diagram

Steps
1. Attach the motor driver's VCC and GND to the Arduino's 5V and GND pins.
2. Connect the DC motor's terminals to the motor driver output pins.
3. Connect the motor driver’s IN1 and IN2 pins to Arduino digital pins (e.g., 9 and 10).
4. Upload code to control speed and direction using analogWrite() and digitalWrite() functions.
5. Power on the Arduino and watch your DC motor spin based on your code commands!
Code
1
2const int motorPin = 9;
3void setup()
4{
5      pinMode(motorPin, OUTPUT);
6}
7void loop()
8{
9      digitalWrite(motorPin, HIGH);
10      delay(2000);
11      digitalWrite(motorPin, LOW);
12      delay(1000);
13      digitalWrite(motorPin, HIGH);
14      delay(2000);
15      digitalWrite(motorPin, LOW);
16      delay(1000);
17}
18
19