Interfacing Rain Sensor with Arduino
Rain Sensor
A Rain Sensor detects the presence of rain and moisture. It is commonly used in weather monitoring, smart irrigation systems, and automated wipers.
Working Principle of Rain Sensor
The Rain Sensor works by detecting water droplets on its surface. The sensor has a conductive plate that changes resistance when water is present, allowing Arduino to measure the moisture level.
Experiment of Code
A Rain Sensor determines rainfall by measuring changes in conductivity when water bridges the sensor's conductive tracks. The Arduino reads this signal and takes action accordingly.
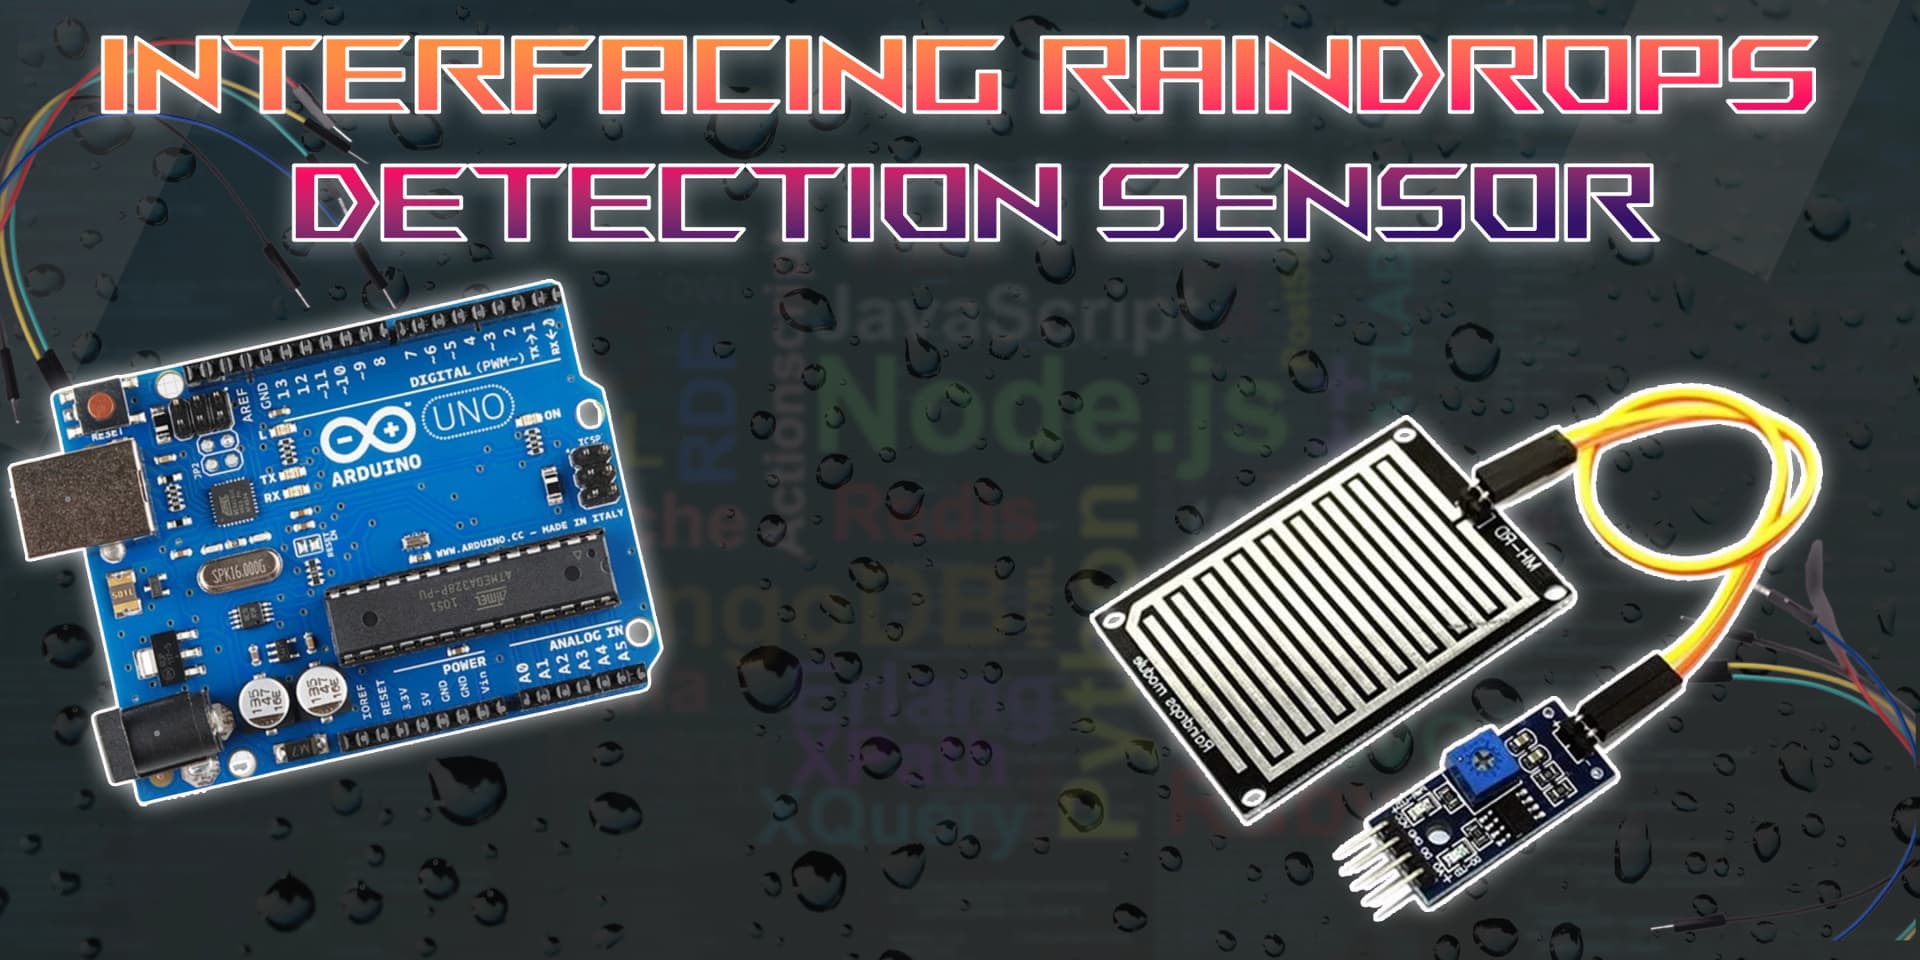
Wiring the Rain Sensor to Arduino
To connect the Rain Sensor to Arduino, connect VCC and GND to +5V and GND. Connect the AO pin to an analog input for moisture readings, and the DO pin to a digital input for rain detection.
Types of Rain Sensors
Analog Rain Sensor
- Water droplets change the sensor's resistance.
- The sensor outputs an analog signal proportional to the moisture level.
- Arduino reads the signal to determine the presence and intensity of rain.
Digital Rain Sensor
- Water bridges conductive traces, completing the circuit.
- The sensor outputs HIGH when dry and LOW when wet.
- Arduino detects the signal and triggers appropriate actions.
Pin Configuration of Rain Sensor
Rain Sensor Module
- VCC: Connect to +5V on Arduino.
- GND: Connect to GND on Arduino.
- AO: Outputs an analog signal based on moisture level.
- DO: Outputs a digital HIGH/LOW signal depending on rain detection.
Algorithm
Initialize Components
- Connect the VCC and GND pins of the Rain Sensor to +5V and GND on the Arduino.
- Connect the AO pin to an analog input and DO pin to a digital input.
Write the Code
- Set the sensor pins as INPUT in the setup() function.
- Read the analog and digital values in the loop() function.
- Use the values to determine the presence and intensity of rain.
Display Values or Control Devices
- Print the detected rain levels to the serial monitor.
- Use the readings to trigger actions such as closing windows or activating wipers.
Test the Project
- Upload the code to the Arduino.
- Simulate rain by placing water droplets on the sensor and observe the detected values.
Arduino Code
1const int rainAnalogPin = A0; // Analog pin connected to AO of rain sensor
2const int rainDigitalPin = 2; // Digital pin connected to DO of rain sensor (optional)
3
4void setup() {
5  Serial.begin(9600);         // Start serial communication
6  pinMode(rainDigitalPin, INPUT); // Set digital pin as input
7}
8
9void loop() {
10  int analogValue = analogRead(rainAnalogPin); // Read analog value
11  int digitalValue = digitalRead(rainDigitalPin); // Read digital value (0 or 1)
12
13  Serial.print("Analog Value: ");
14  Serial.print(analogValue);
15  Serial.print(" | Digital Value: ");
16  Serial.println(digitalValue == LOW ? "Rain Detected" : "No Rain");
17
18  delay(500);
19}
20
Applications
- Automatic wiper systems
- Weather monitoring
- Smart irrigation control
- Flood detection
- Home automation for windows and roofs
- Agriculture and soil moisture monitoring
Conclusion
Interfacing a Rain Sensor with Arduino allows real-time rain detection for various applications, including smart homes, agriculture, and weather monitoring. With simple wiring and coding, you can easily integrate rain sensing into your projects.