Interfacing Stainless Steel Probe Temperature BMP280 Sensor with Arduino
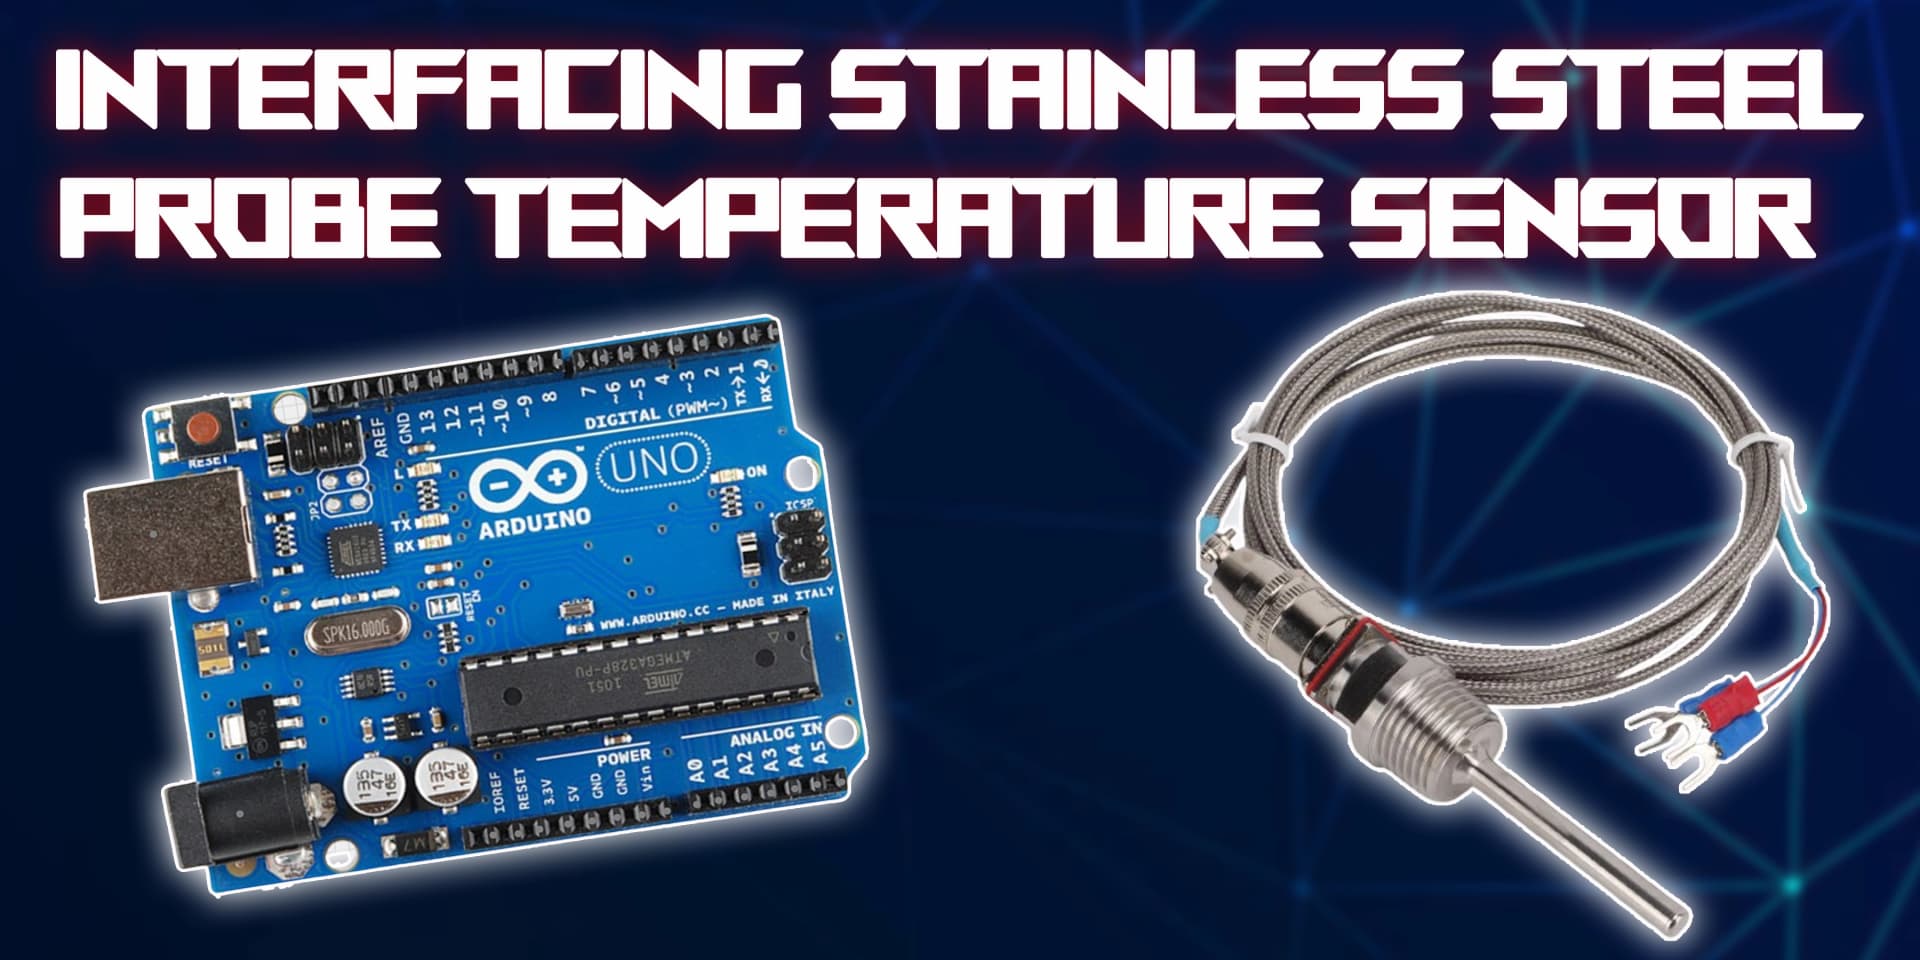
Stainless Steel Probe Temperature Sensor
A stainless steel probe temperature sensor is a waterproof sensor designed to measure temperature in various environments, including liquids and harsh conditions. These sensors are commonly used in industrial, food processing, and environmental monitoring applications due to their durability and accuracy.
Working Principle of Stainless Steel Probe Temperature Sensor
The stainless steel probe temperature sensor operates based on a thermistor or a digital temperature sensing element like the DS18B20. It detects temperature changes and converts them into an electrical signal, which can be read by the Arduino to monitor temperature variations.
Wiring the Stainless Steel Probe Temperature Sensor to Arduino
To connect the stainless steel probe temperature sensor to the Arduino, connect the VCC and GND pins to +5V and GND on the Arduino. For analog sensors, connect the signal pin to an analog input. For digital sensors like the DS18B20, connect the data pin to a digital input with a pull-up resistor.
Types of Stainless Steel Probe Temperature Sensors
Analog Temperature Probe
- Measures temperature through resistance variation.
- Converts resistance changes into an analog voltage signal.
- Arduino reads the voltage and calculates the temperature.
Digital Temperature Probe (DS18B20)
- Measures temperature using an internal digital sensor.
- Communicates temperature data via a one-wire protocol.
- Arduino reads the data and processes it for temperature monitoring.
Pin Configuration of Stainless Steel Probe Temperature Sensor
Analog Temperature Probe
- VCC: Connect to +5V on Arduino.
- GND: Connect to GND on Arduino.
- Signal: Connect to an analog input pin on Arduino.
Digital Temperature Probe (DS18B20)
- VCC: Connect to +5V on Arduino.
- GND: Connect to GND on Arduino.
- Data: Connect to a digital input pin (with a pull-up resistor).
Algorithm
Initialize Components
- Connect the VCC and GND pins of the temperature sensor to +5V and GND on the Arduino.
- Connect the signal or data pin to an appropriate input pin on the Arduino.
Write the Code
- Set the sensor pin as INPUT in the setup() function.
- Read the sensor's analog or digital values in the loop() function.
- Convert the readings into temperature values.
Display Values or Control Devices
- Print the temperature readings to the serial monitor.
- Use the readings to control heating or cooling systems if needed.
Test the Project
- Upload the code to the Arduino.
- Test the temperature sensor by exposing it to different temperatures and observing the readings.
Arduino Code
1// Interfacing DS18B20 Stainless Steel Probe Temperature Sensor with Arduino
2// Libraries required for DS18B20 sensor
3#include <OneWire.h>
4#include <DallasTemperature.h>
5
6#define ONE_WIRE_BUS 2  // Data pin connected to D2 on Arduino
7
8OneWire oneWire(ONE_WIRE_BUS);
9DallasTemperature sensors(&oneWire);
10
11void setup() {
12  Serial.begin(9600);
13  sensors.begin();
14  Serial.println(\"Stainless Steel Probe Temperature Sensor Ready\");
15}
16
17void loop() {
18  sensors.requestTemperatures(); // Request temperature readings
19  float temperatureC = sensors.getTempCByIndex(0); // Read temperature in Celsius
20
21  if (temperatureC != DEVICE_DISCONNECTED_C) {
22    Serial.print(\"Temperature: \");
23    Serial.print(temperatureC);
24    Serial.println(\" °C\");
25  } else {
26    Serial.println(\"Sensor error. Check wiring!\");
27  }
28
29  delay(2000);
30}
Applications
- Industrial temperature monitoring
- Food processing and safety applications
- Environmental and weather monitoring
- Water and liquid temperature sensing
- HVAC systems for temperature regulation
- Automotive and machinery temperature control
Conclusion
Interfacing a stainless steel probe temperature sensor with Arduino provides reliable and accurate temperature monitoring. These sensors are widely used in industrial, food, and environmental applications. By following simple wiring and coding steps, you can effectively integrate temperature sensing into your projects.